DIY Fitting
Installing a cat flap is a job probably best left to a professional. However, if you’re a competent DIY-er and keen to have a go, here are my top tips.
|
|
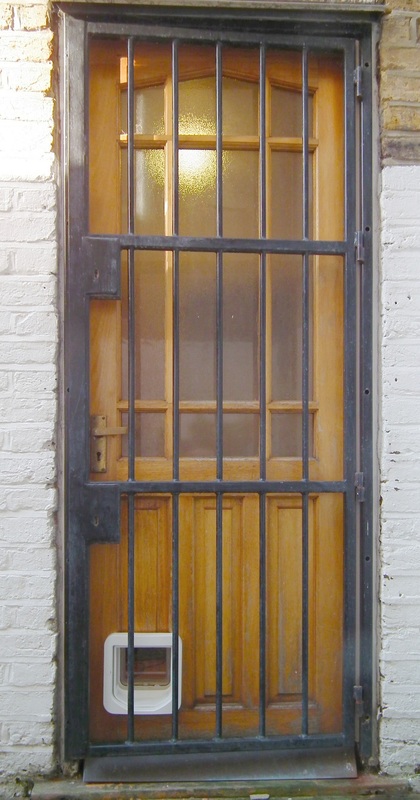
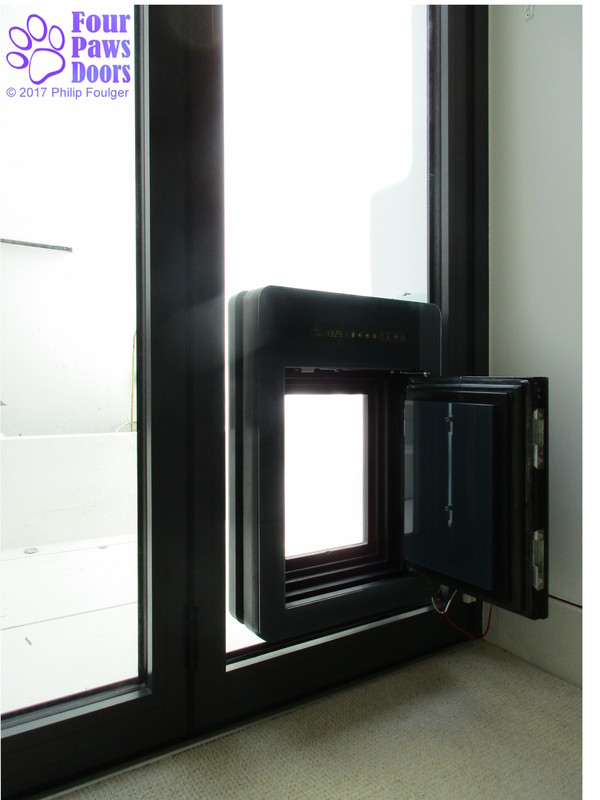
• Security: Consider seriously whether the presence of a pet door might compromise your home security.
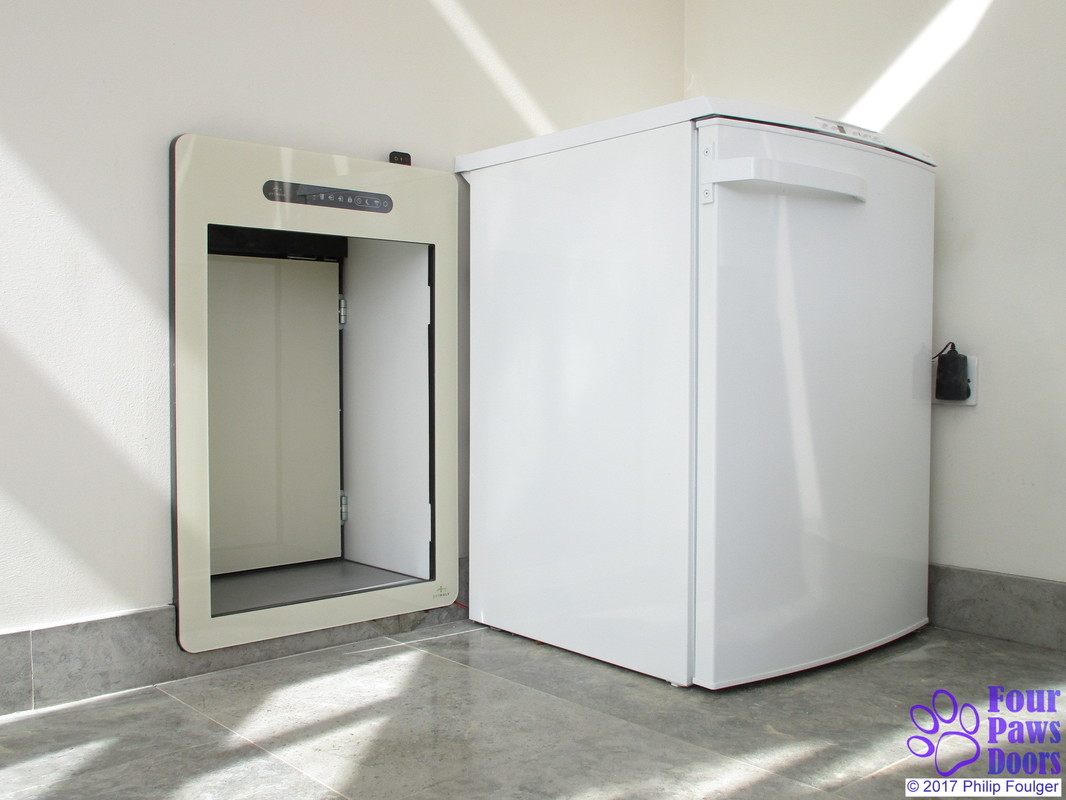
When deciding where to install a cat flap, bear in mind whether a burglar would be able to reach through the flap and access the door latch or key. Never leave the door keys in the lock overnight. Burglars could climb in through dog doors so take special care to secure any internal security panel at night or when going out. Pet friendly movement detectors (PIR) are available if you have a home alarm system fitted. petWALK pet doors have a built in alarm system and can also be connected to your existing house alarm. These doors are at least as secure as high quality house doors. (Unfortunately, petWALK doors are not currently available in the UK) |
|
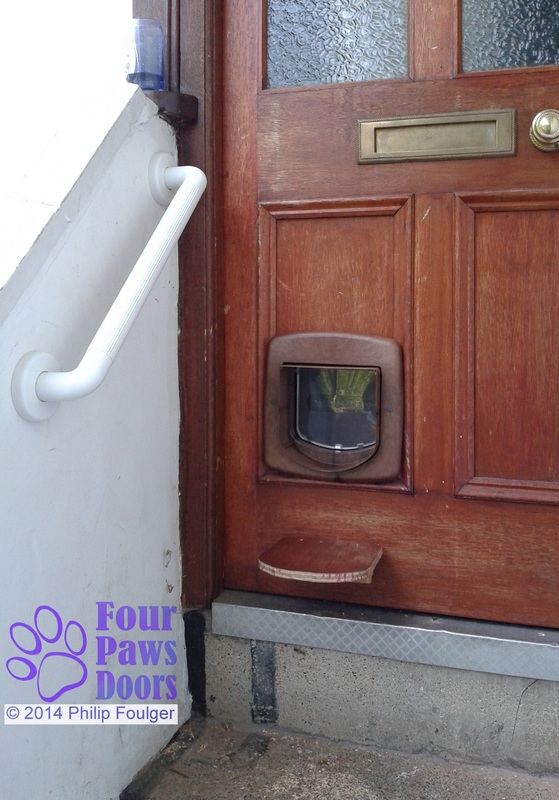
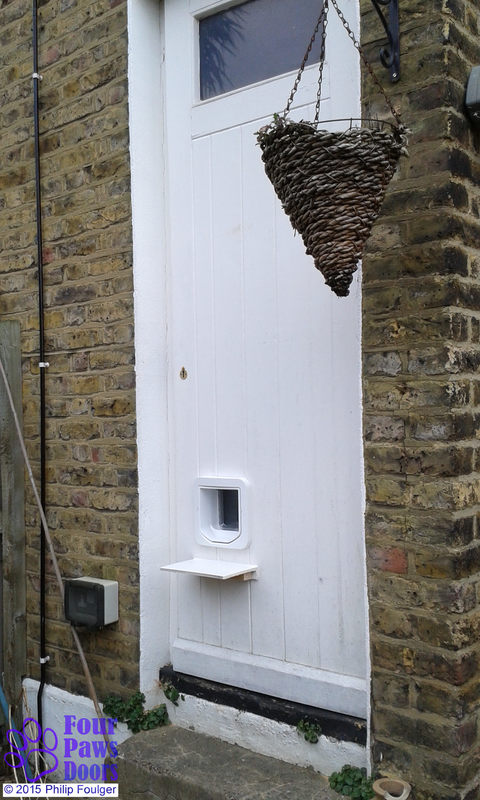
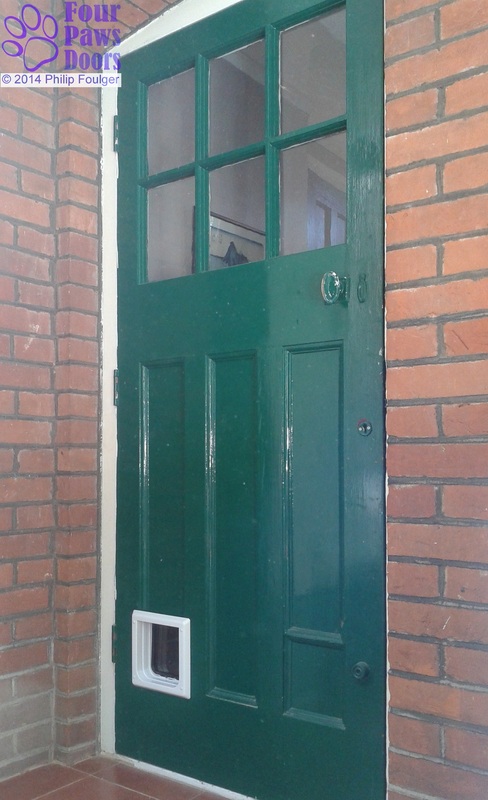
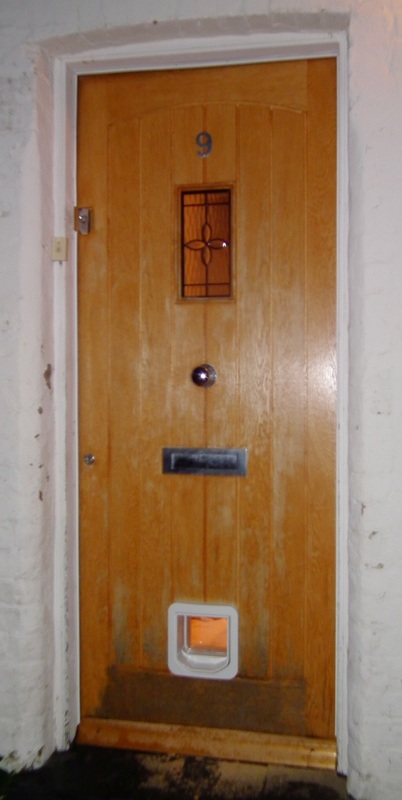
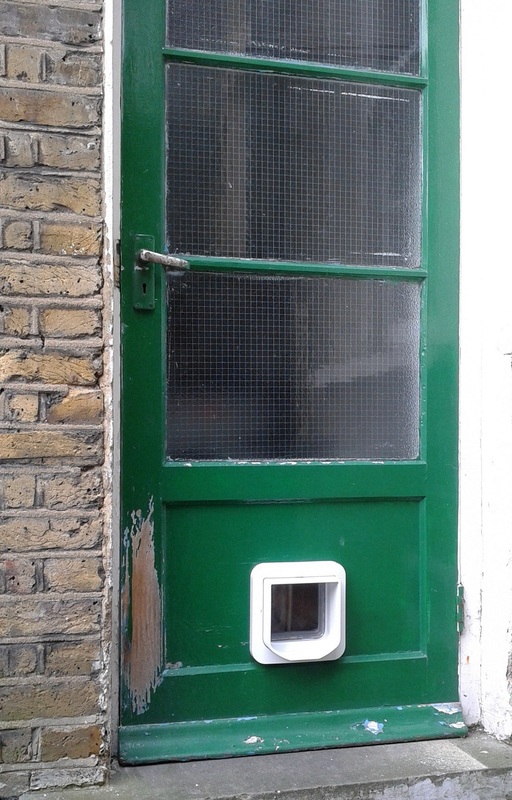
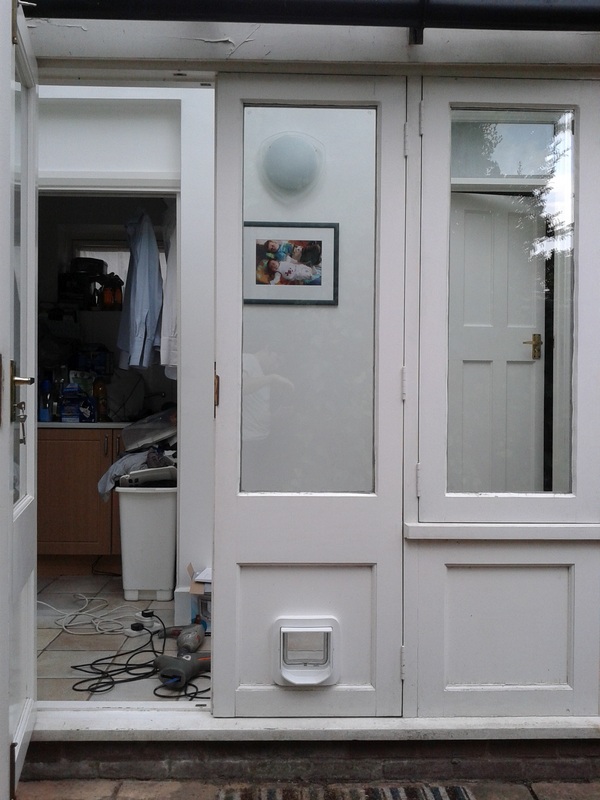
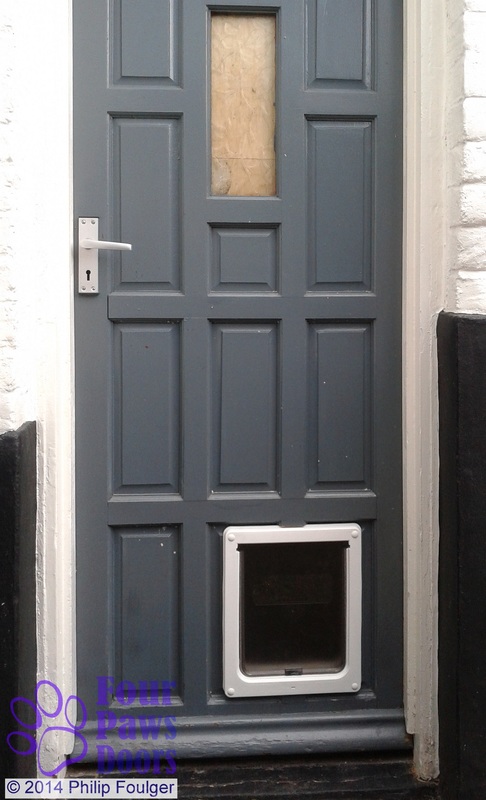
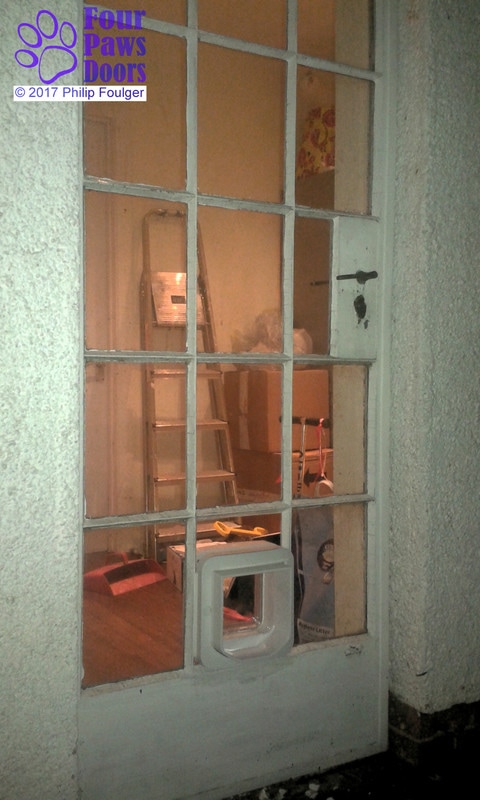
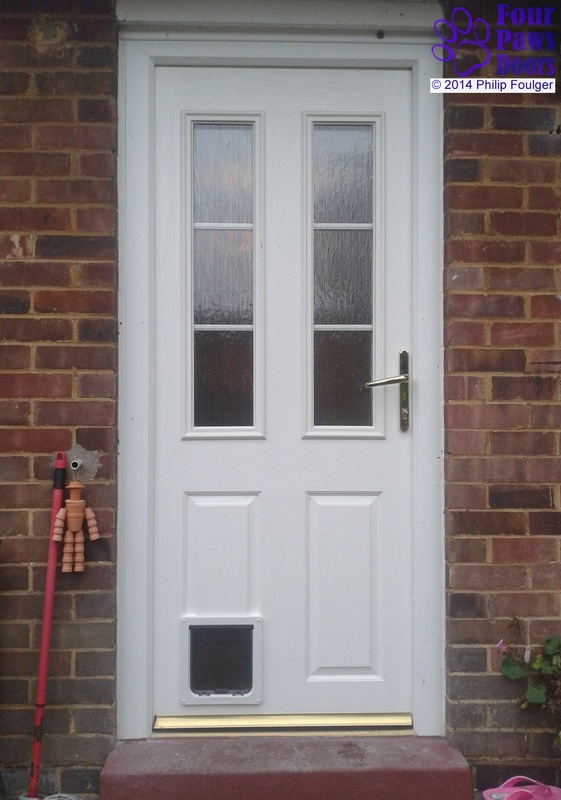
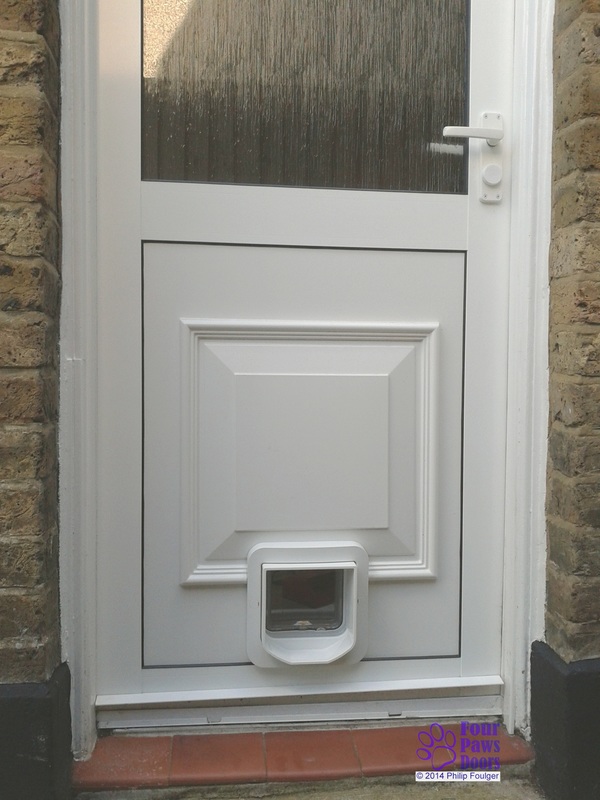
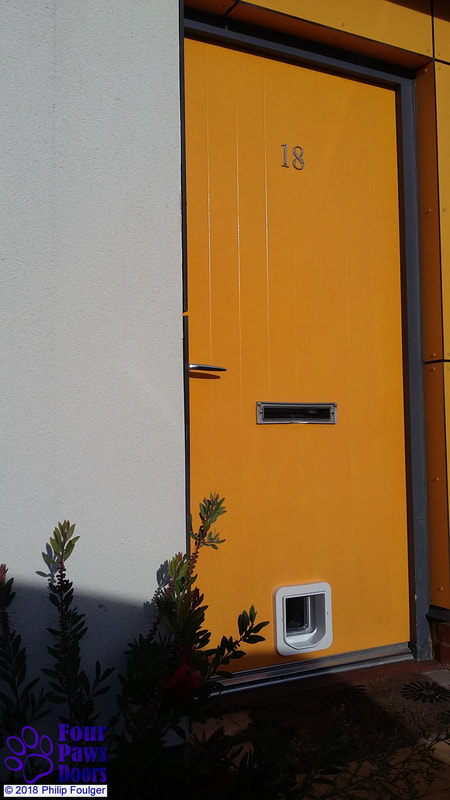
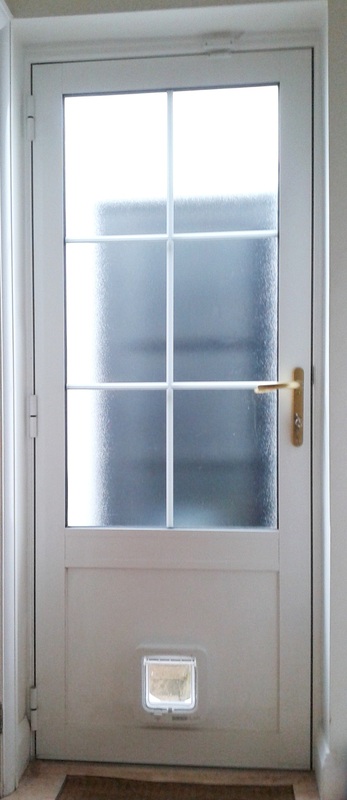
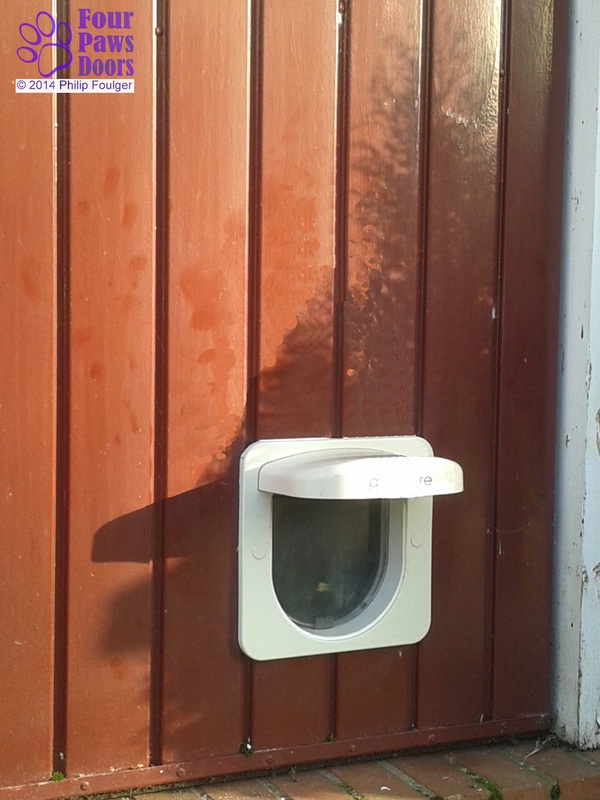
• Wooden door. It is generally quite straightforward to fit a cat flap within a flat panel of a wooden door. A suitably sized hole is cut with a jigsaw or reciprocating saw.
A door with narrow panels will require careful attention to avoid weakening the structure of the door. With wooden doors, it is particularly important to make the installation weathertight - rain penetrating into the door will in time result in the wood rotting. I always form a weathertight seal between the cat flap and the outside surface of the the door using a long life weatherproof sealant. |
|
|
|
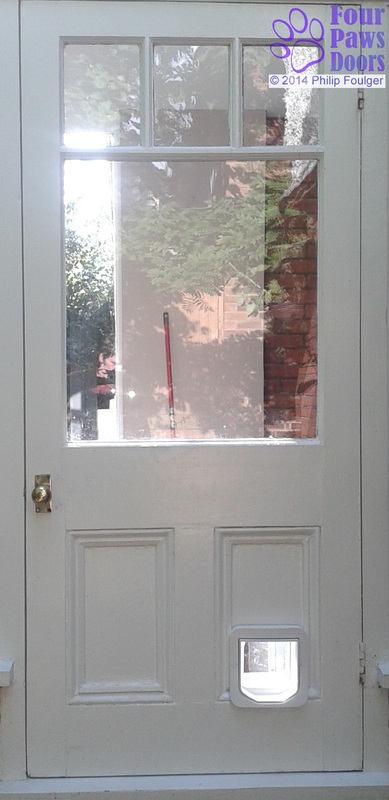
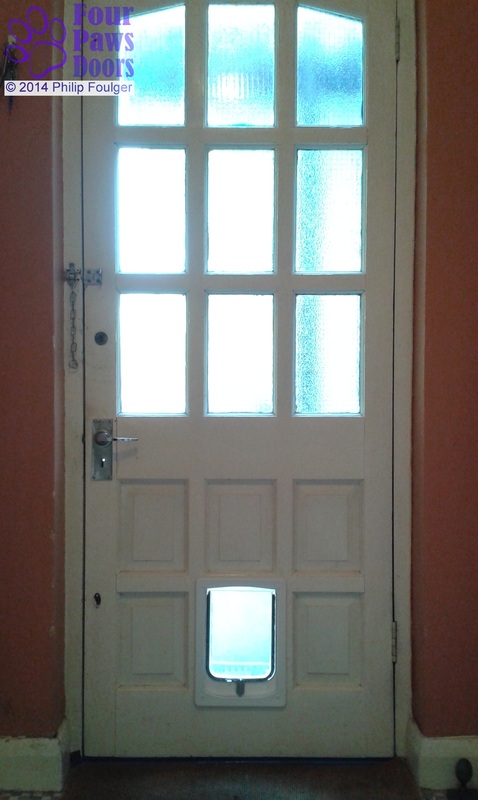
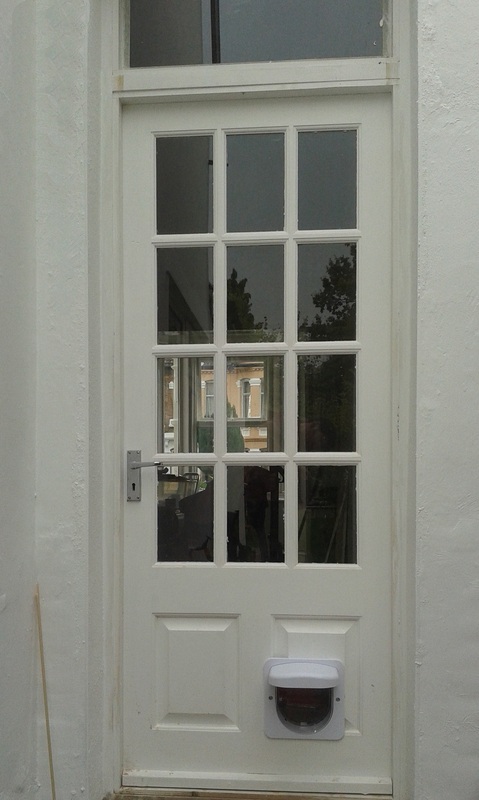
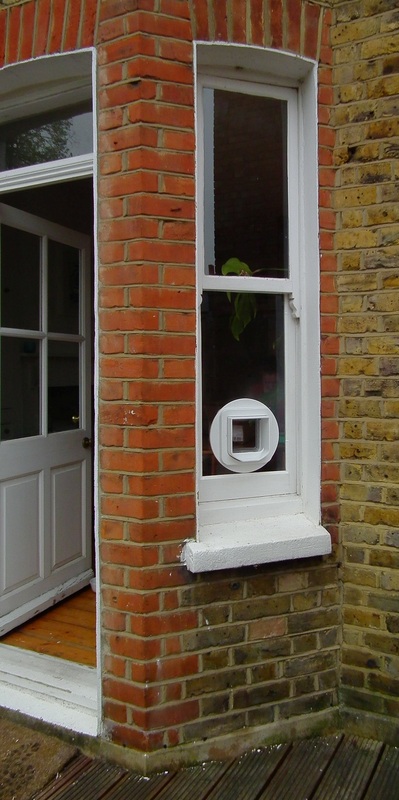
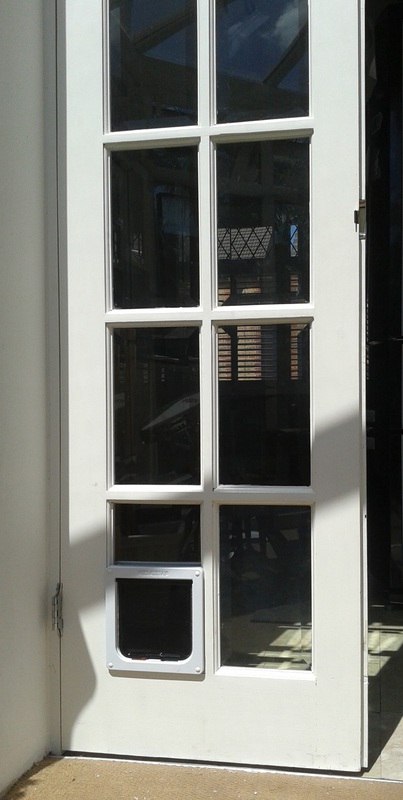
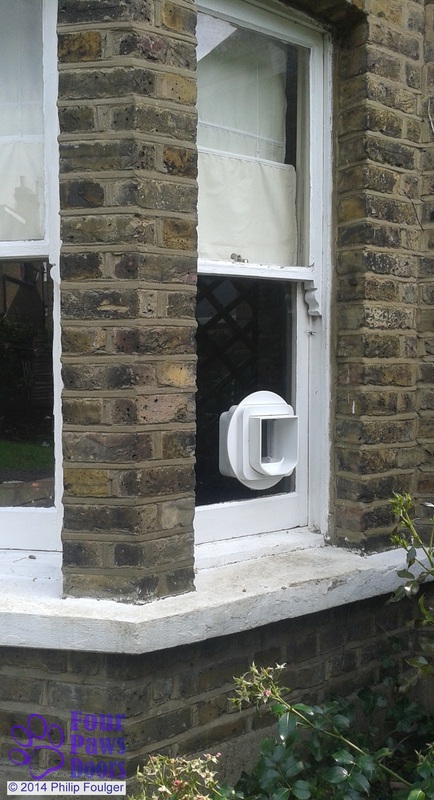
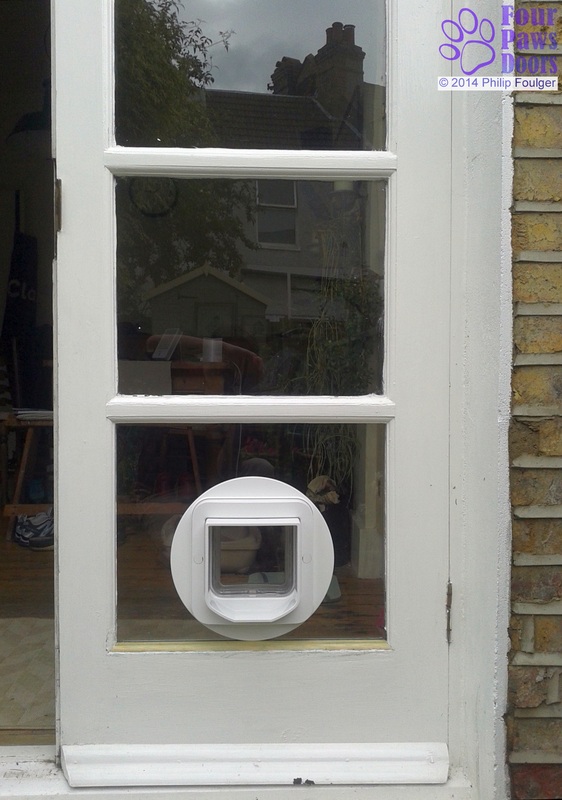
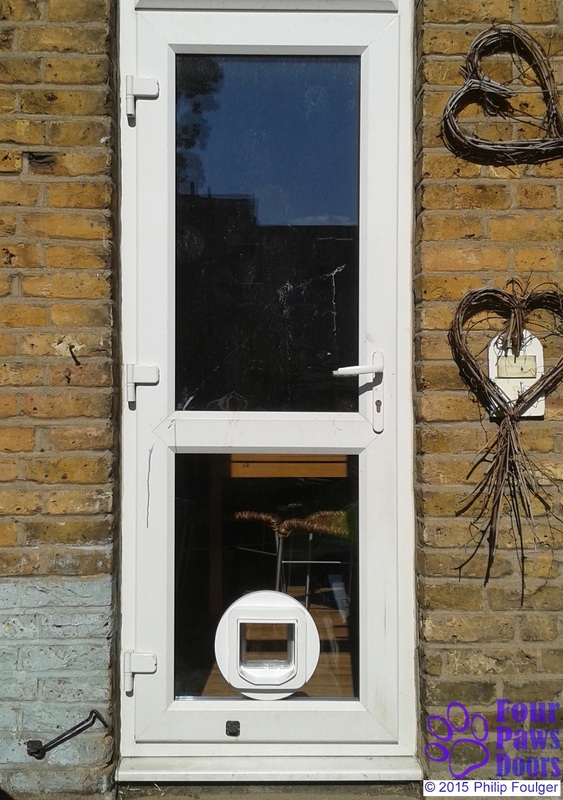
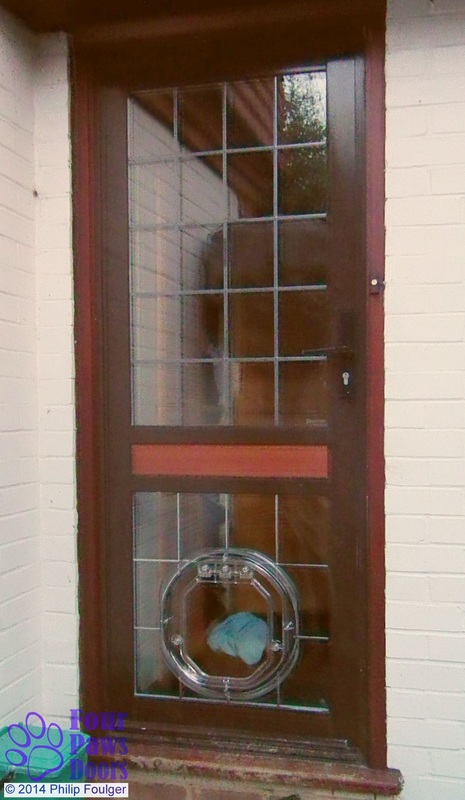
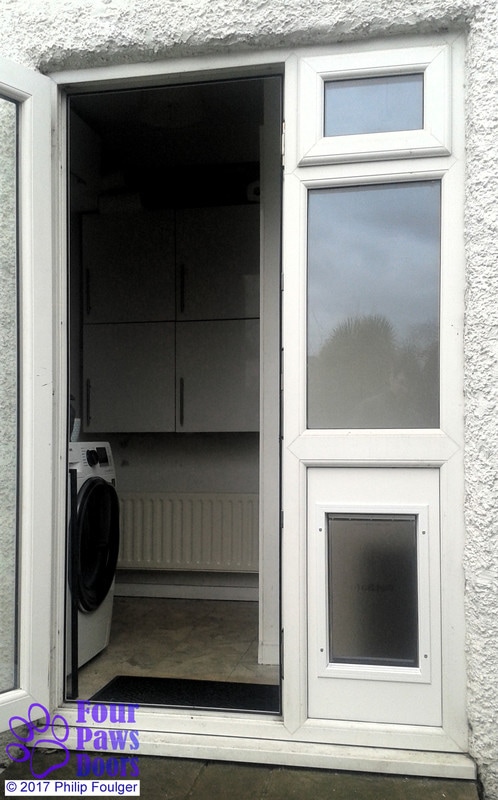
• Single glazed window or door. Older doors and windows in particular may contain glass which has not been toughened by a special heat treatment to make it safe. This should be replaced by a new pane of toughened safety glass in which a circular hole has been pre-cut by a glazier. Toughened glass is indicated by an etched symbol in the corner of the pane.
Sometimes the glass is too narrow to accommodate the circular hole required for a cat flap. In this case a pane of solid polycarbonate may be used to advantage as a tighter rectangular hole can be cut in this. Polycarbonate is a security product - it is virtually indestructible. However, it is more flexible and softer than glass and more likely to get scratched over time. |

|
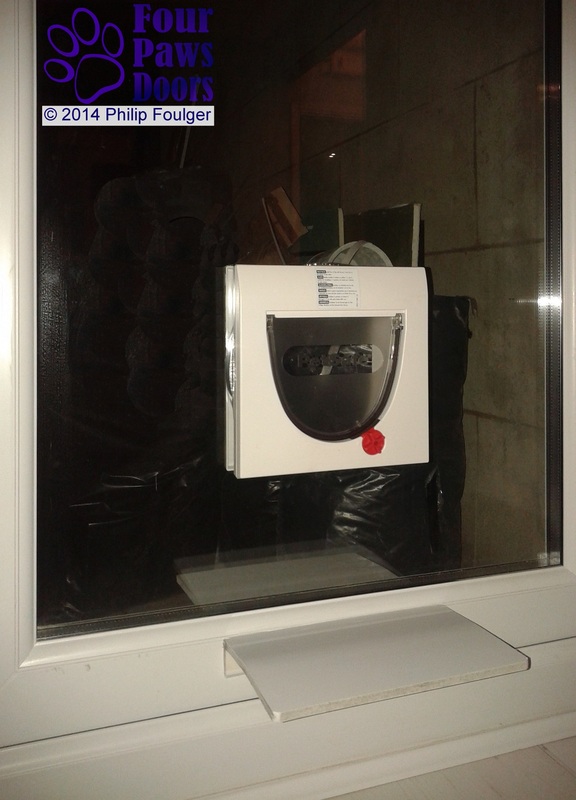
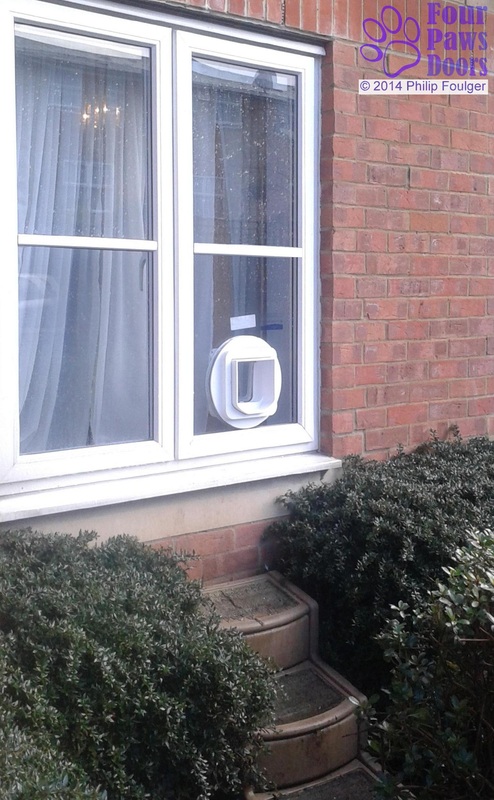
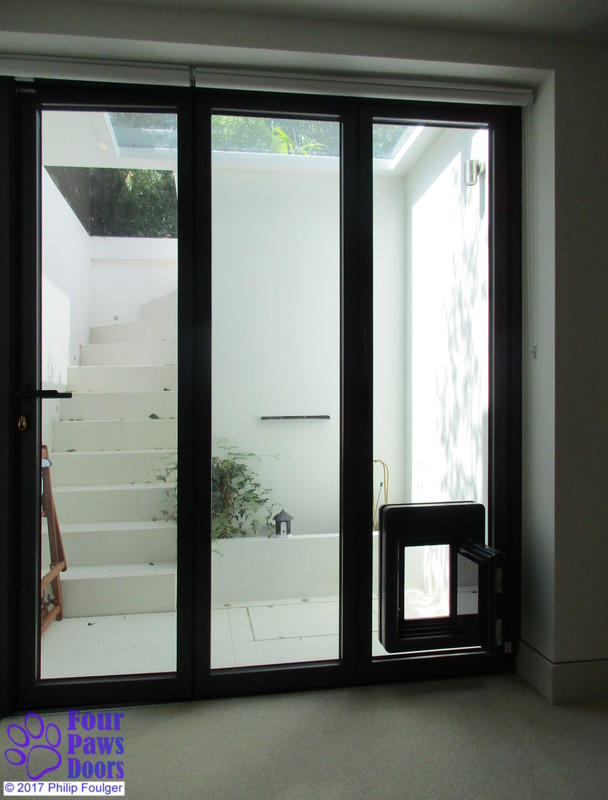
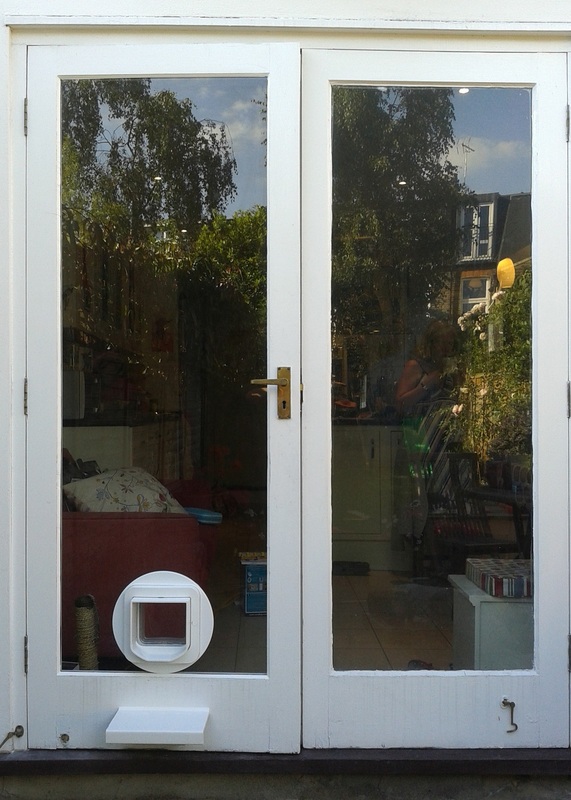
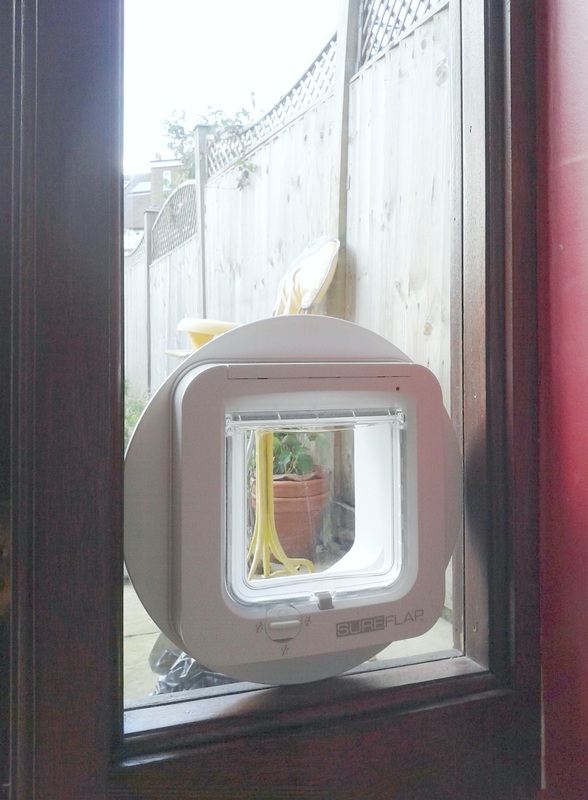
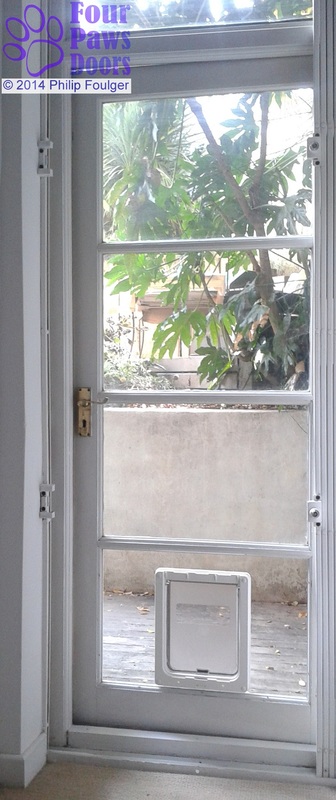
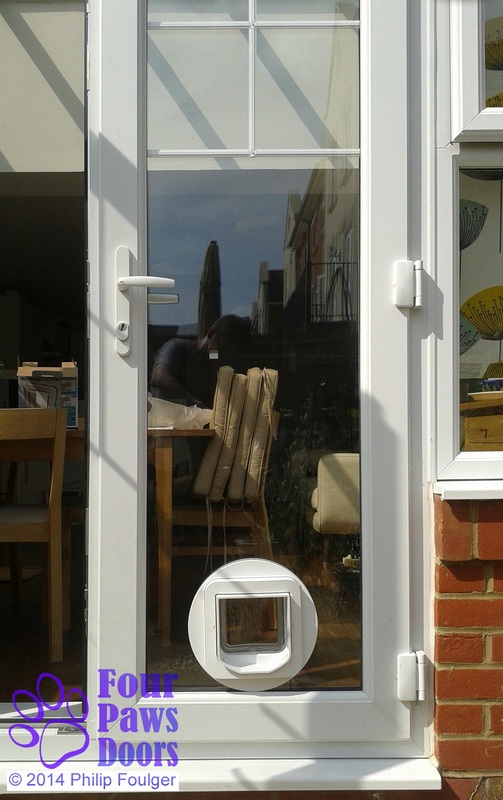
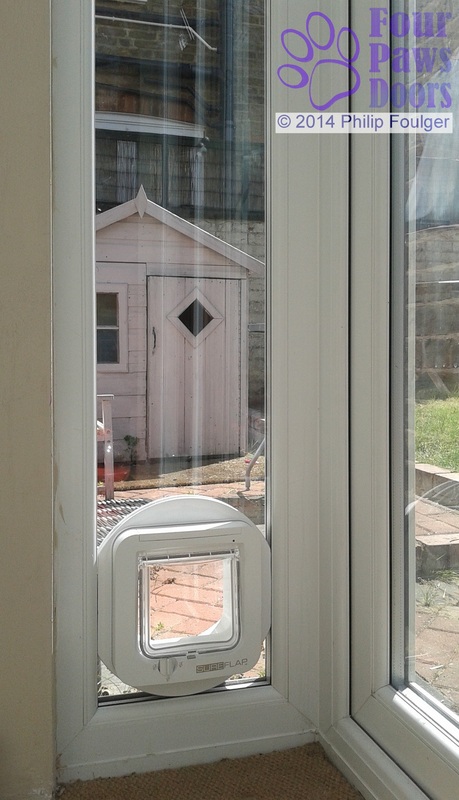
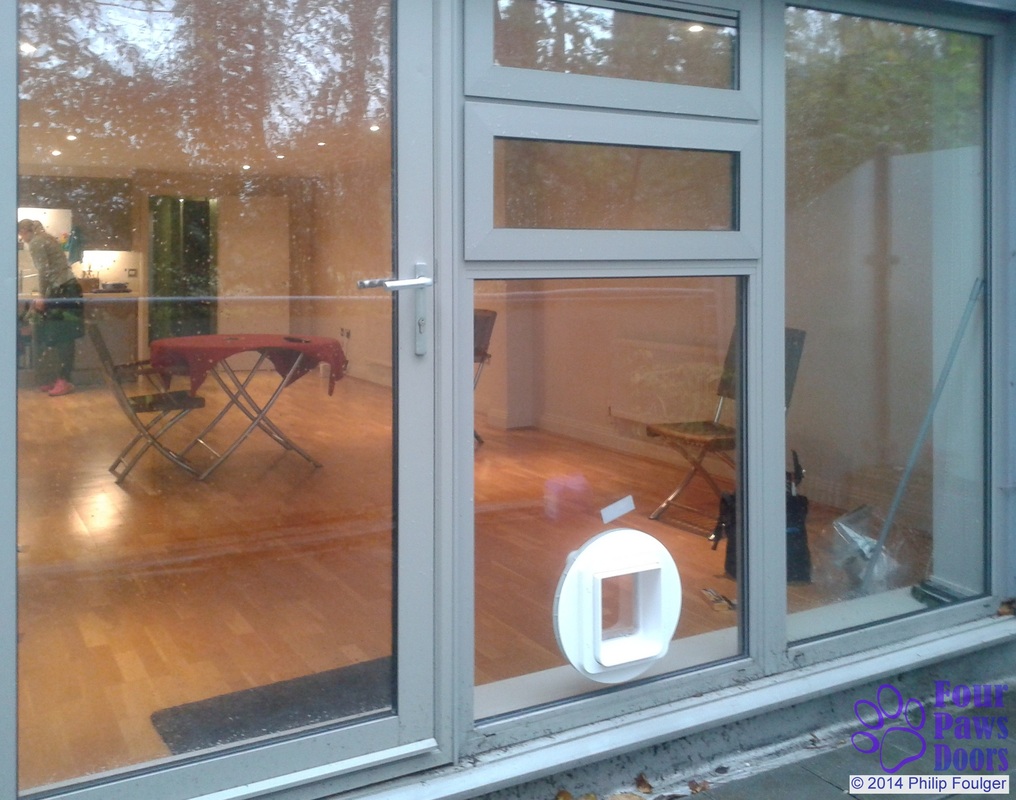
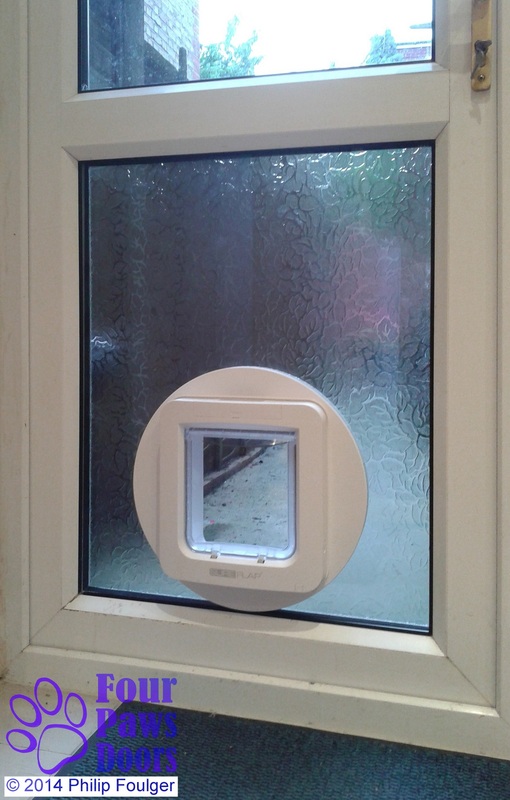
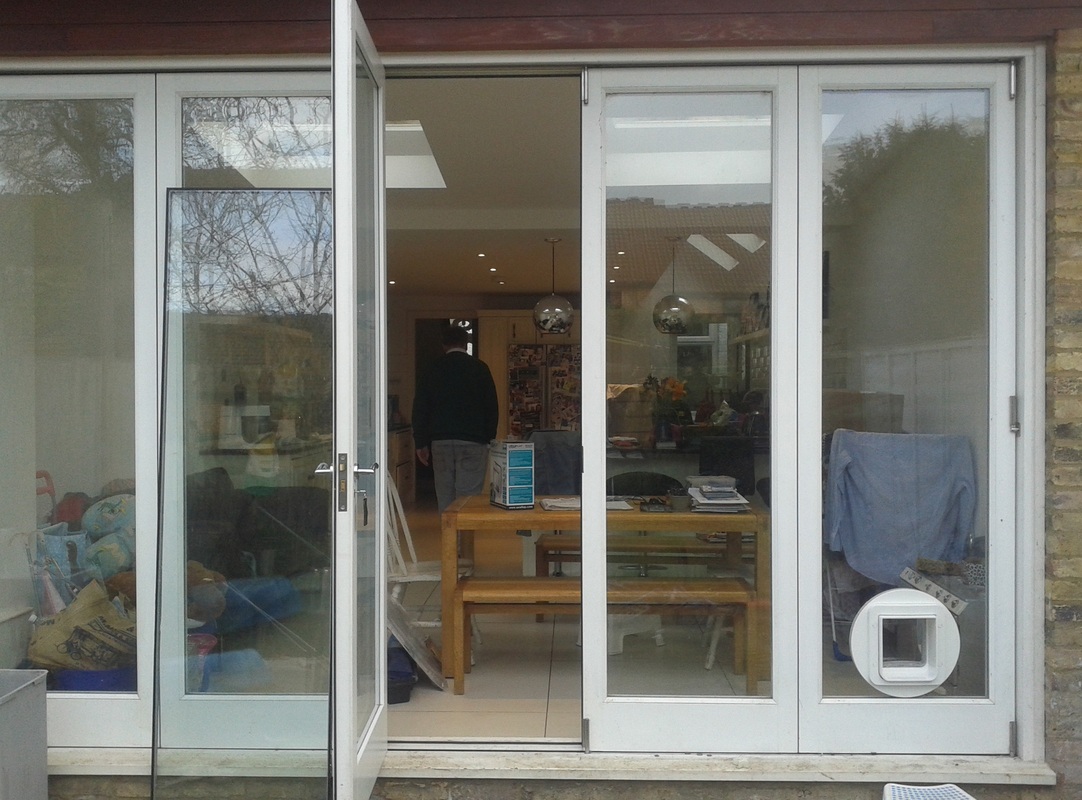
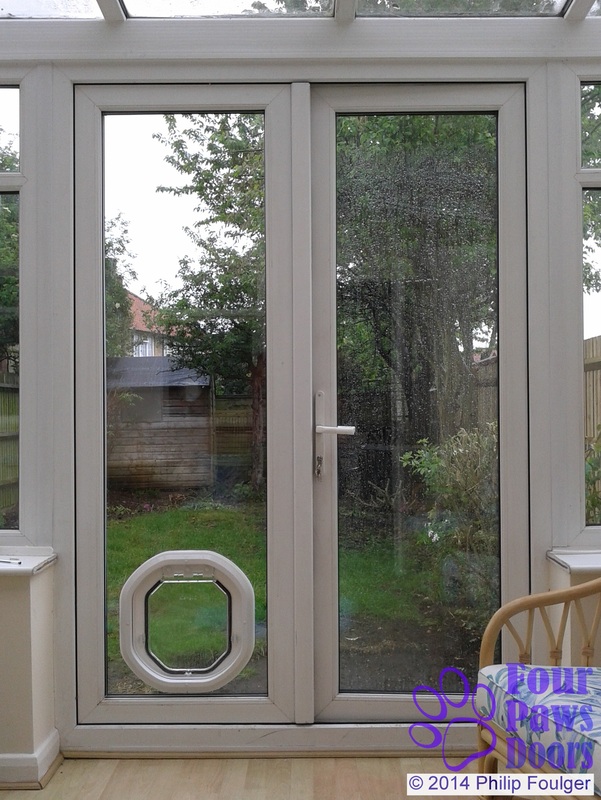
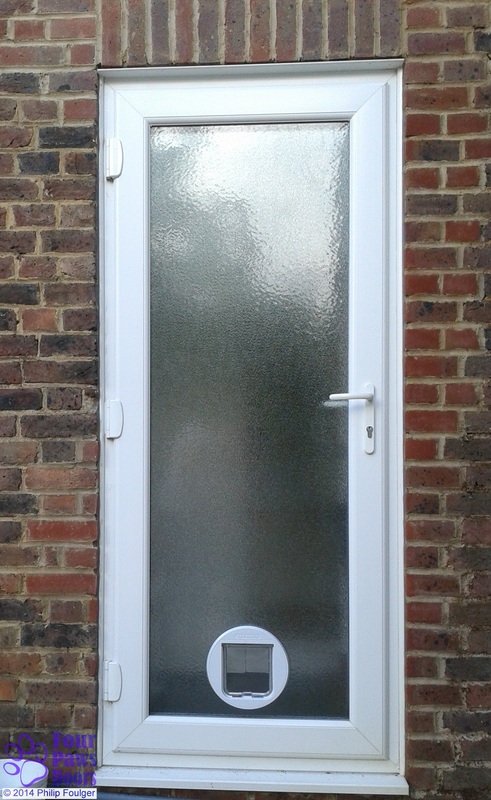
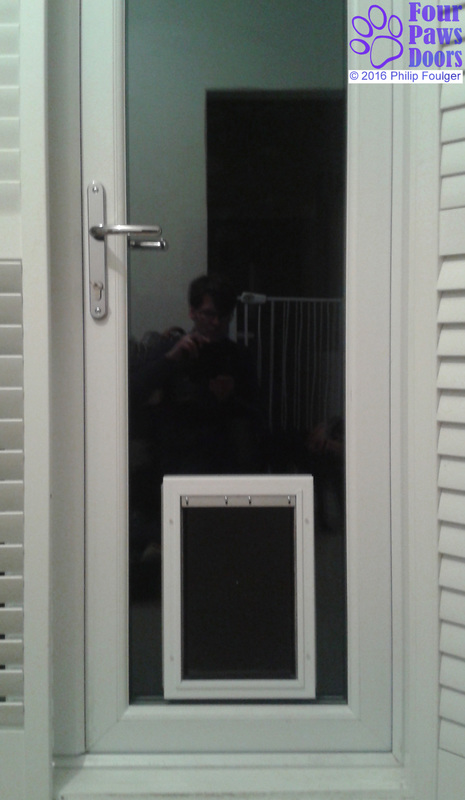
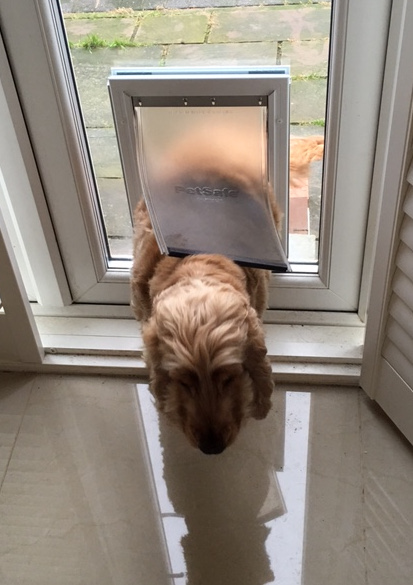
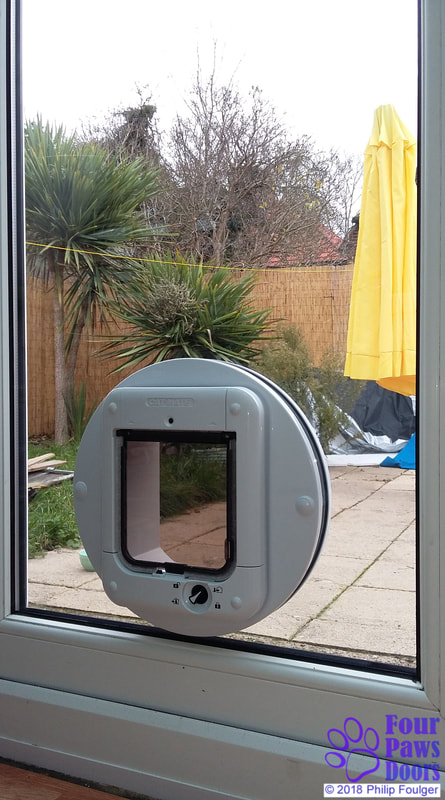
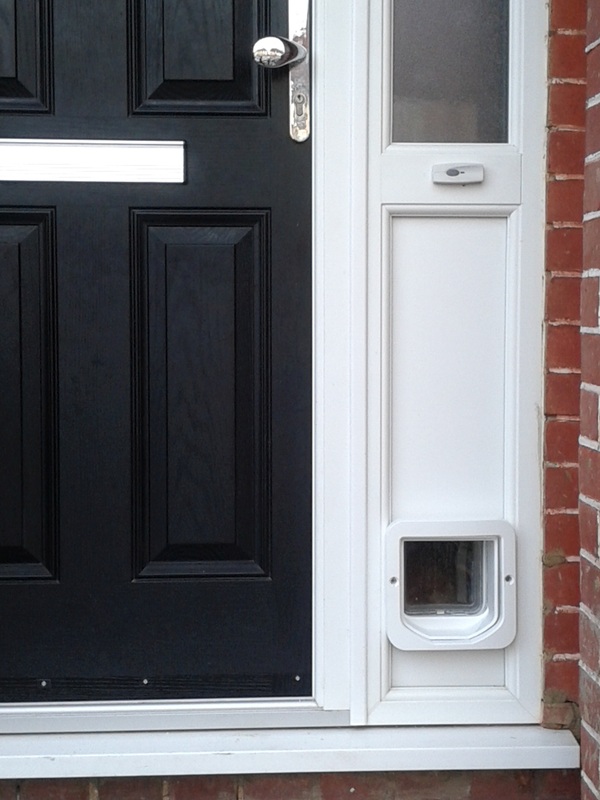
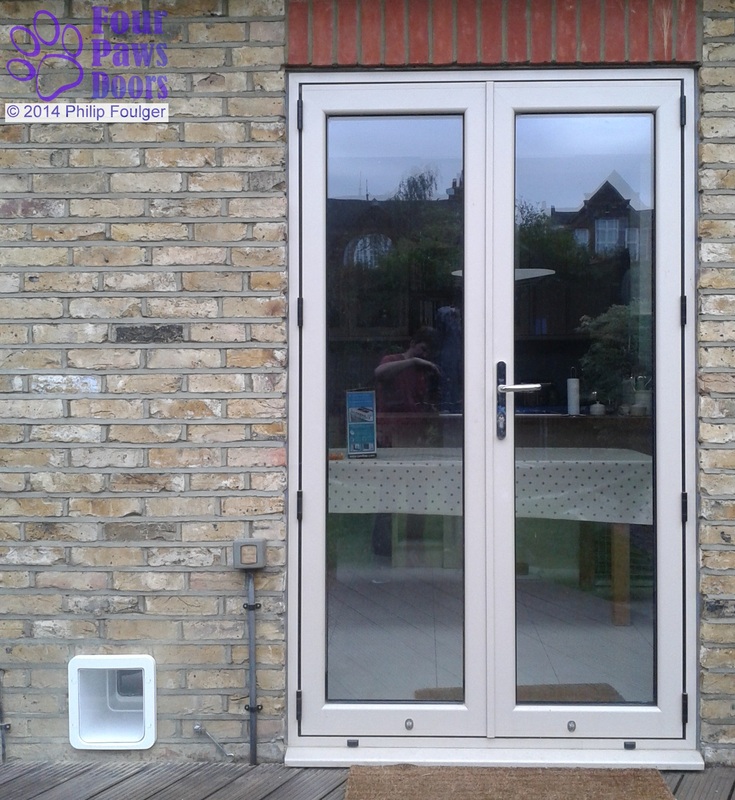
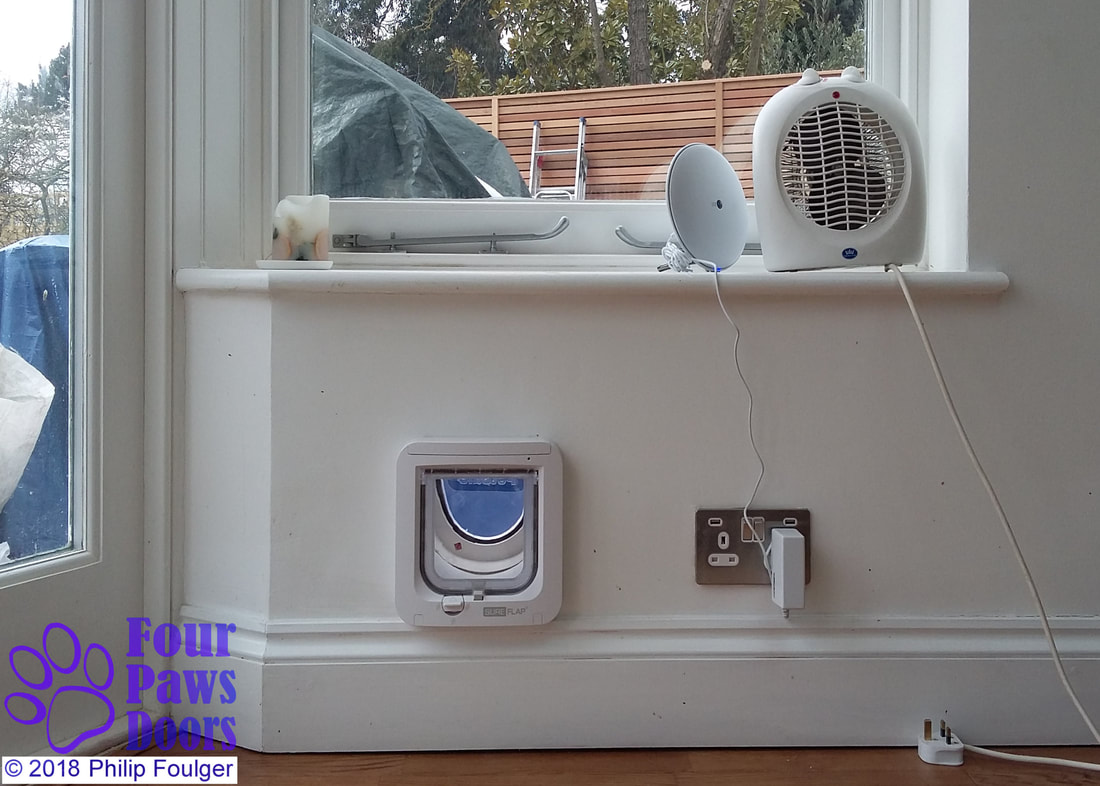
• Double glazed window or door. Double glazed doors and windows usually contain safety glass which has been toughened by a special heat treatment. Any attempt to cut a hole in this will cause it to fracture into myriad tiny pieces. In any case, it would not be possible to re-seal a unit after cutting a hole in it. So if you have a double-glazed window or door you will need to get a replacement unit manufactured with a circular hole pre-cut for the cat flap. A replacement full size double glazed door unit might cost anything from £180 to £280 or so depending on its size and specification.
If the glazing is very narrow a cat flap may need to be accommodated in a rectangular rather than a circular hole. A rectangular hole can be cut through glass using a high pressure abrasive waterjet. However, this adds considerably to the cost of the unit. Larger dog doors will also require a rectangular hole. It is important to properly "toe and heel" the glazed unit in doors and opening windows. This is the process by which the door is diagonally braced by the glazing in order to maintain the door's geometry. Failure to do this properly leads to the door or window "dropping", and the locks or latches not closing easily. |
|


|
|
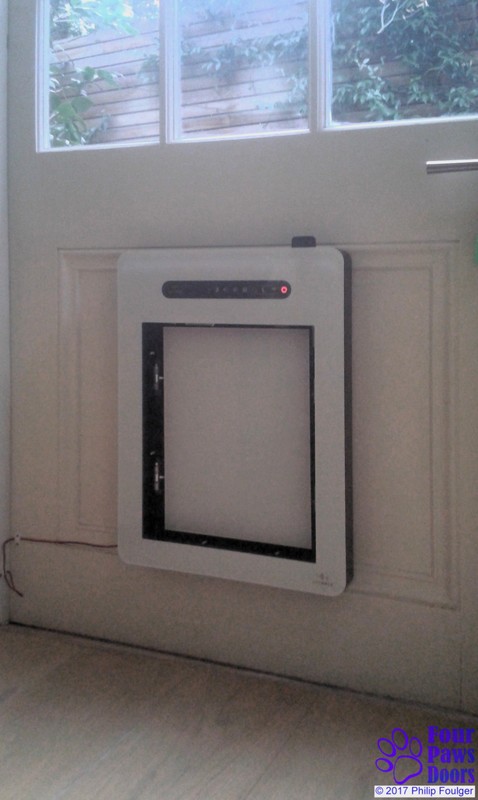
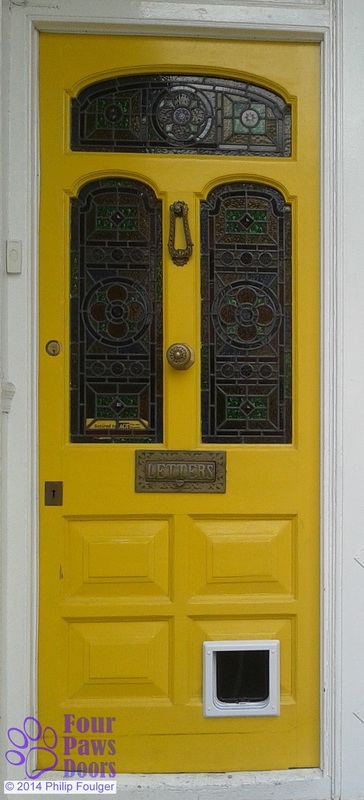
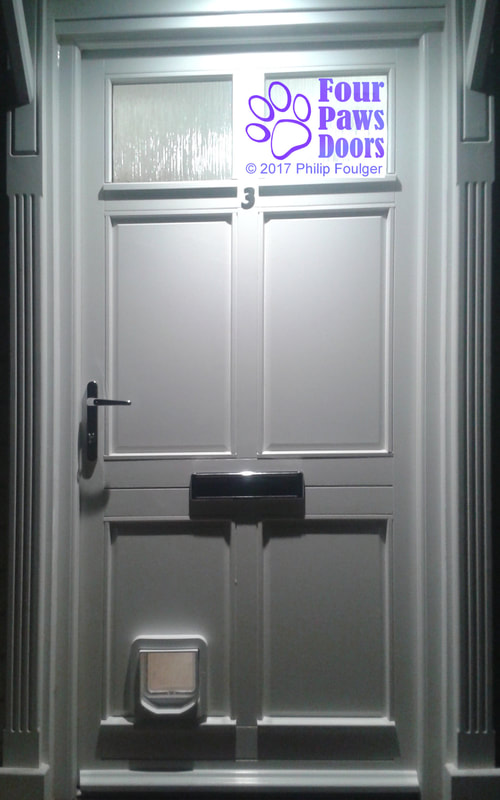
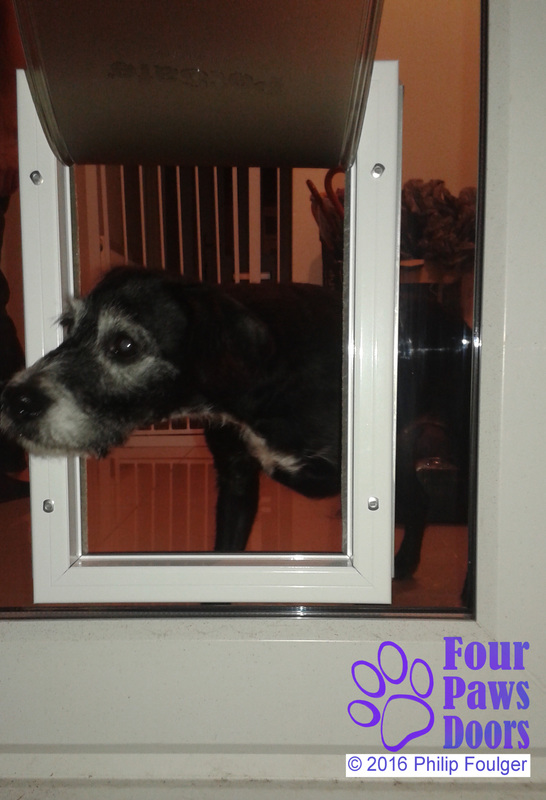
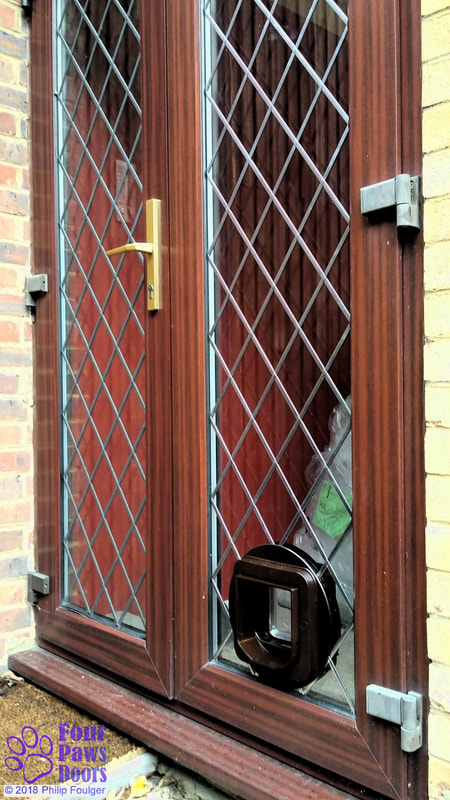
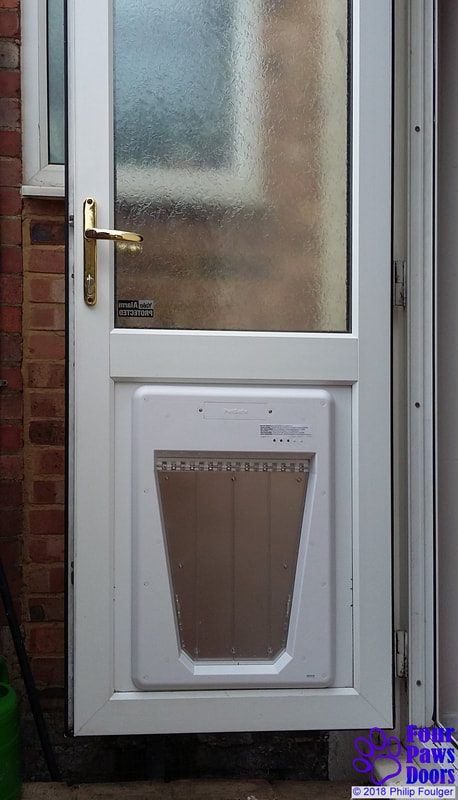
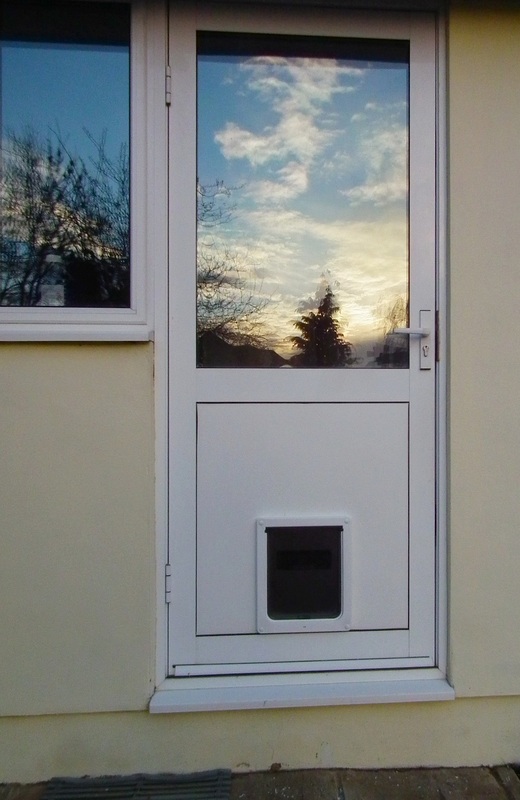
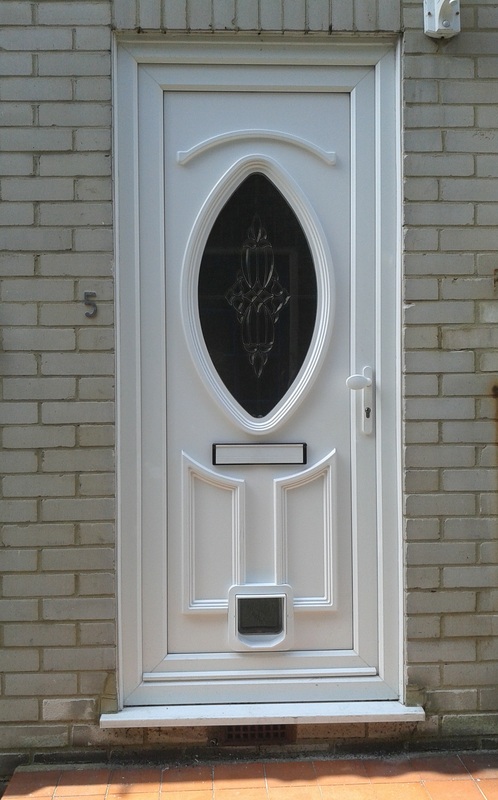
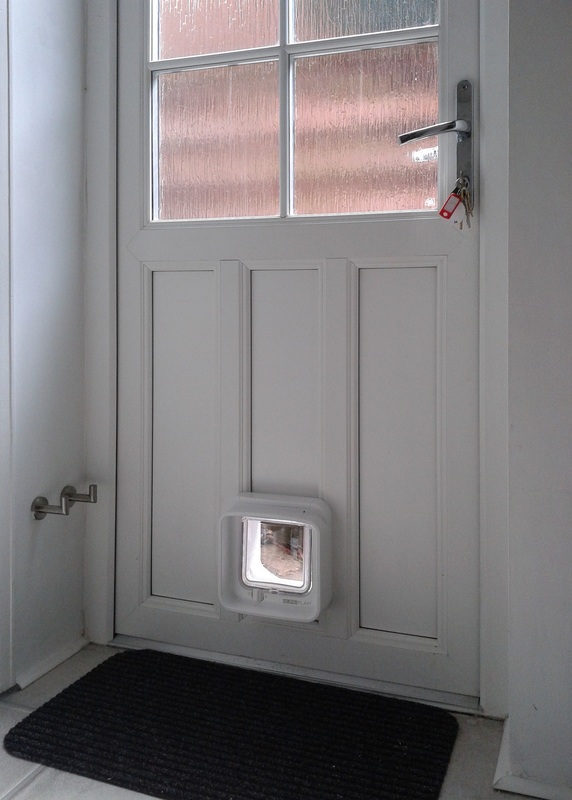
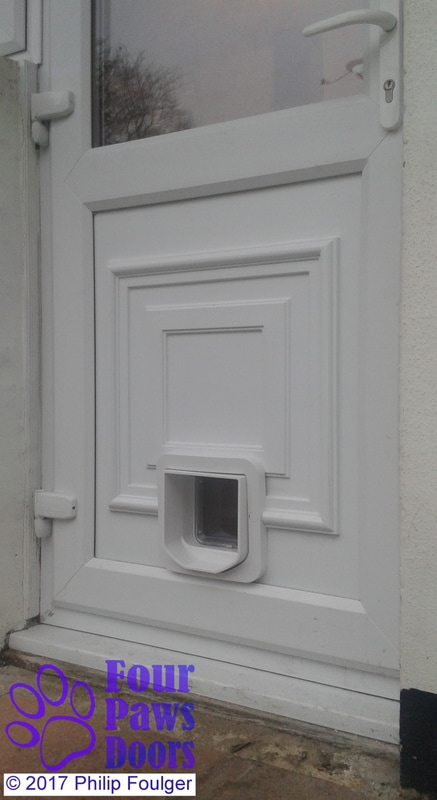
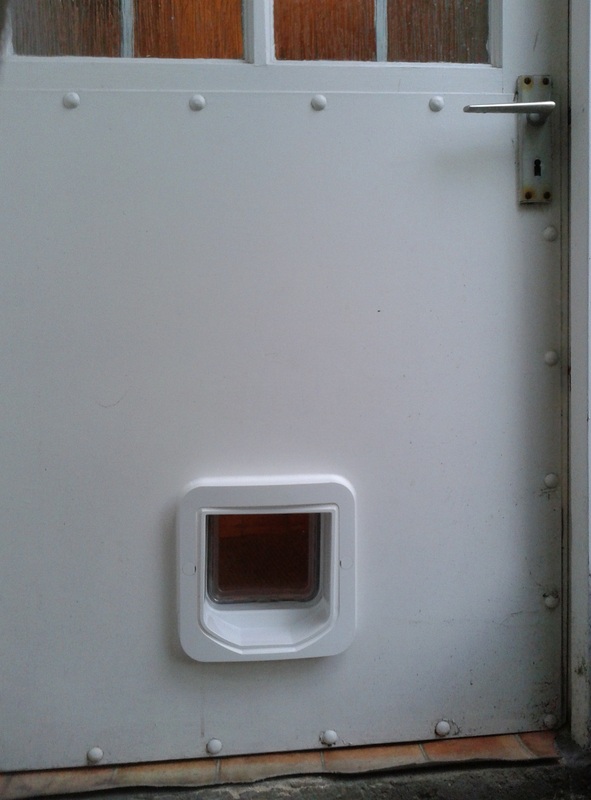
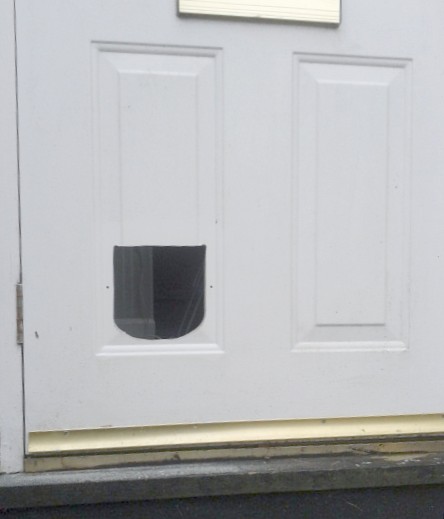
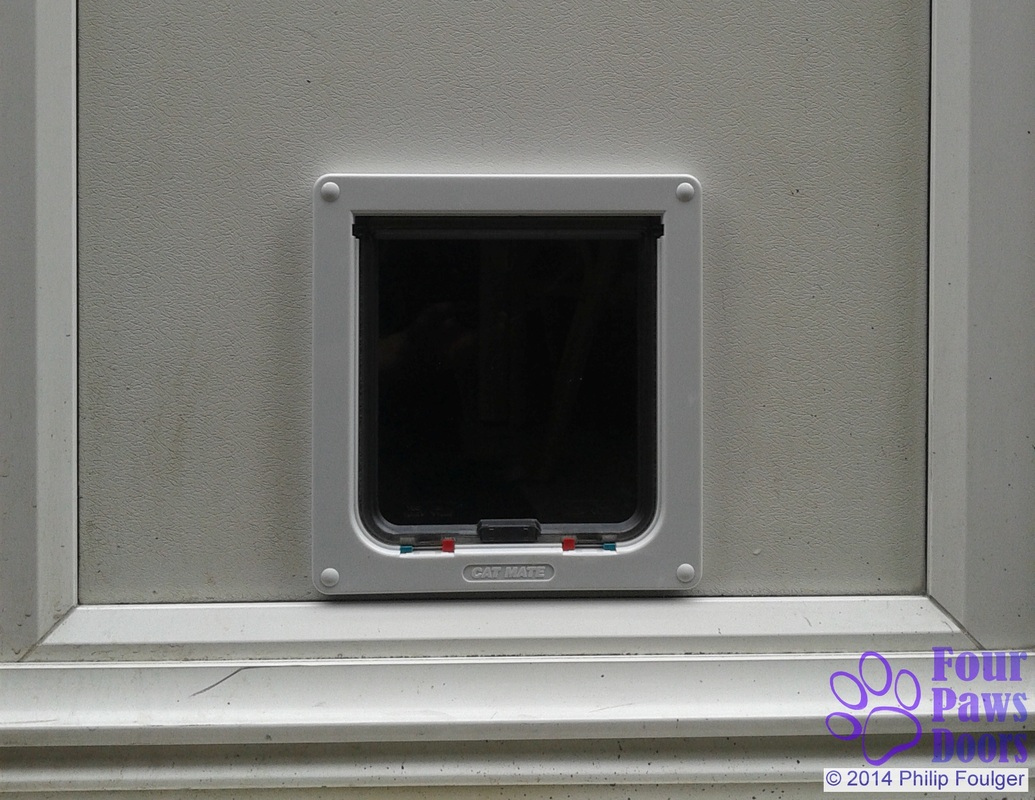
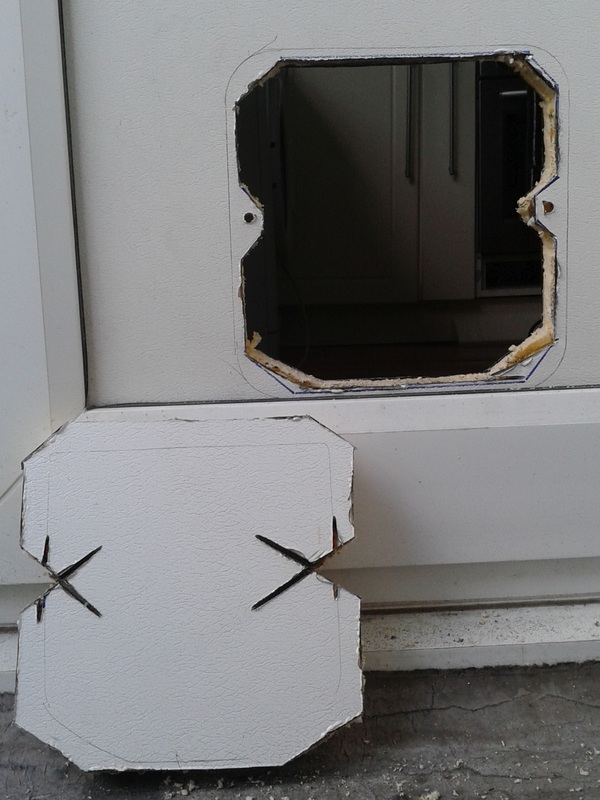
• uPVC, GRP and composite door or panel. The construction of these varies greatly. Some comprise a very flimsy plastic outer skin bonded to a soft insulating polystyrene core. Great care should be exercised in cutting through these as they are fragile - especially in cold weather when they become quite brittle! Some uPVC door panels incorporate a sheet of ply or mdf for added strength while better quality doors incorporate a sheet of aluminium or steel for security. Bear in mind that any metal within a door may interfere with the functioning of a microchip cat flap. All these can still be cut with a standard electric jig saw fitted with a suitable fine toothed blade.
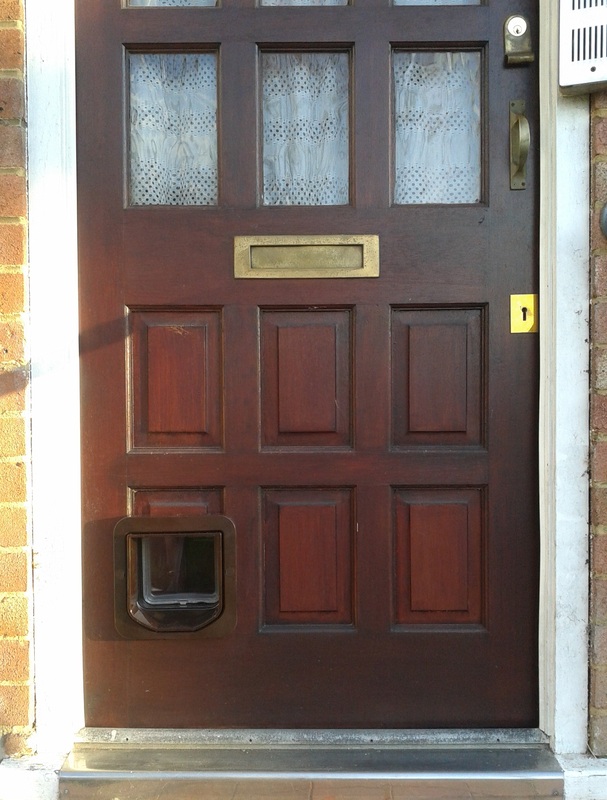
Additional complexity occurs where the panel incorporates raised decorative features such as panelling. Not only must the raised feature be cut away accurately to accommodate the pet flap neatly, but the outside face must be rendered rainproof where the raised feature has been cut away. |


|
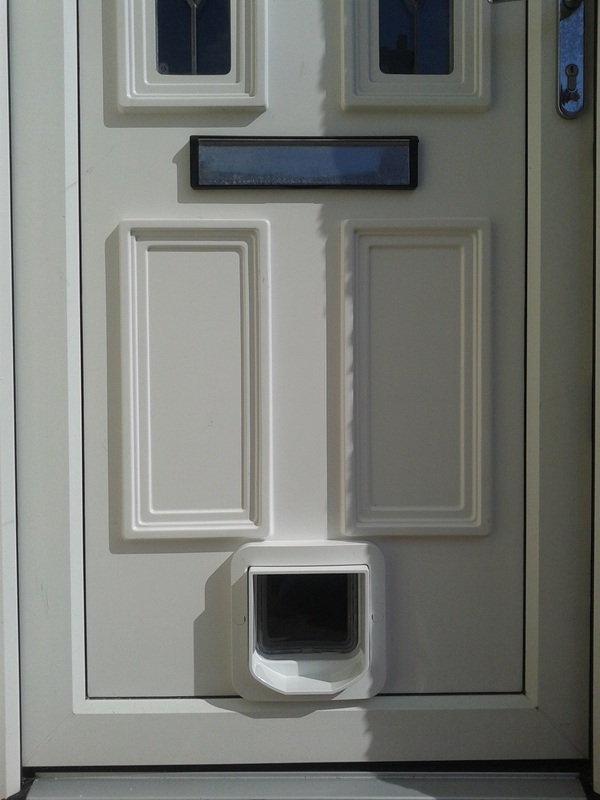
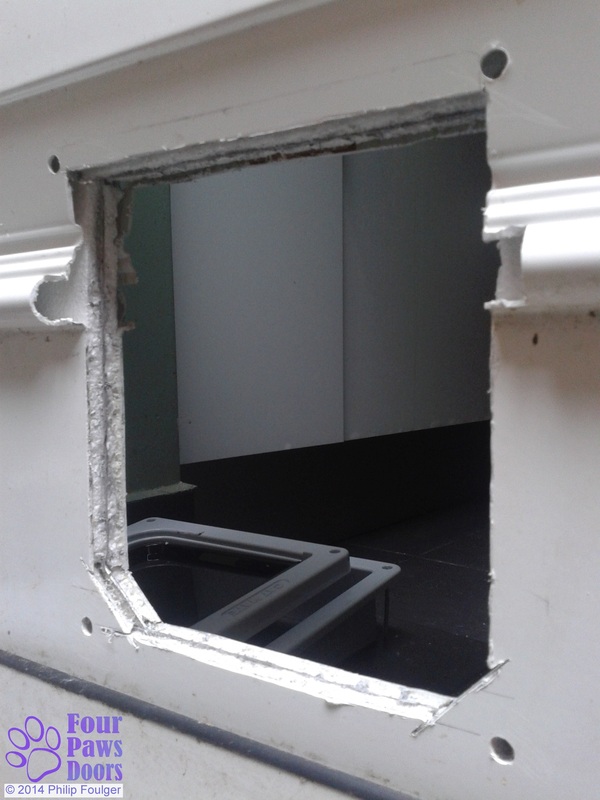
• Metal faced door. These doors offer greater security than the ubiquitous uPVC door. The metal may be aluminium or steel, steel being stronger than aluminium. They are treated like uPVC doors but may be tougher to cut through. Bear in mind that any metal within a door may interfere with the functioning of a microchip cat flap. Usually an oversize hole will have to be cut to avoid such interference. In this case it will be necessary to fill in the oversize gap and render it rainproof.
Take care when cutting steel as the cut edges may be dangerously sharp. I file these edges smooth so that someone removing the pet door at a later date won't be so likely to cut themselves. |
|


|
|
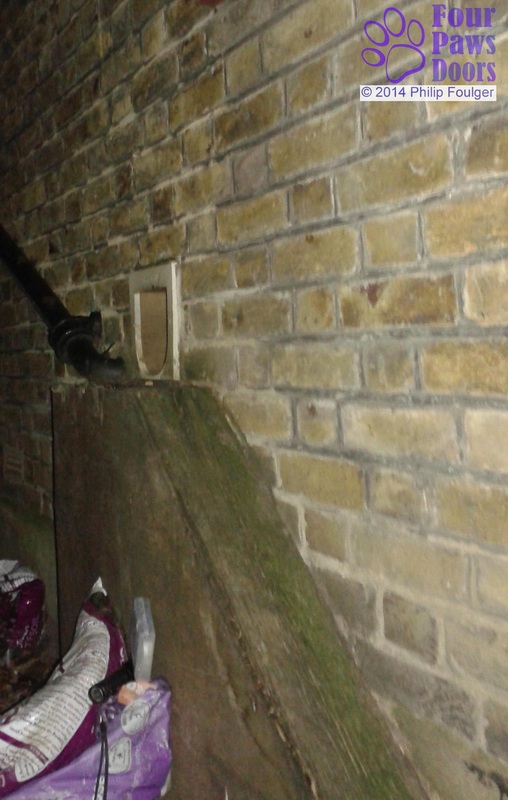
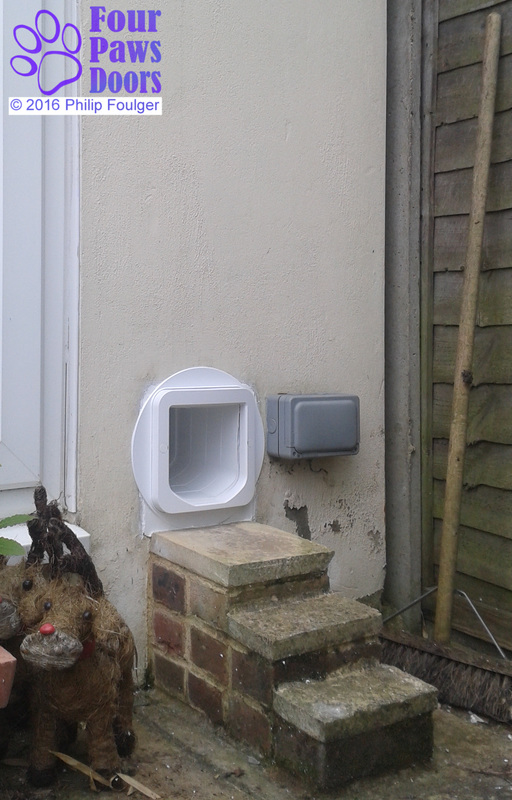
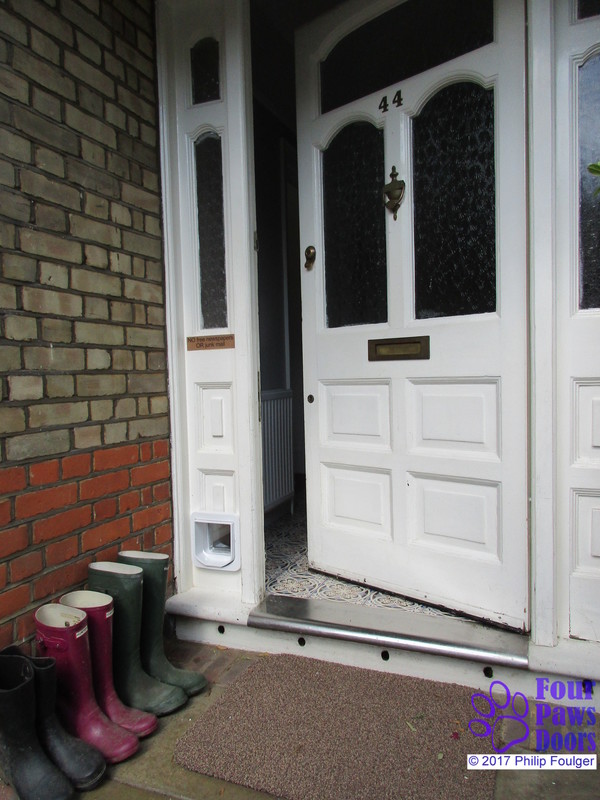
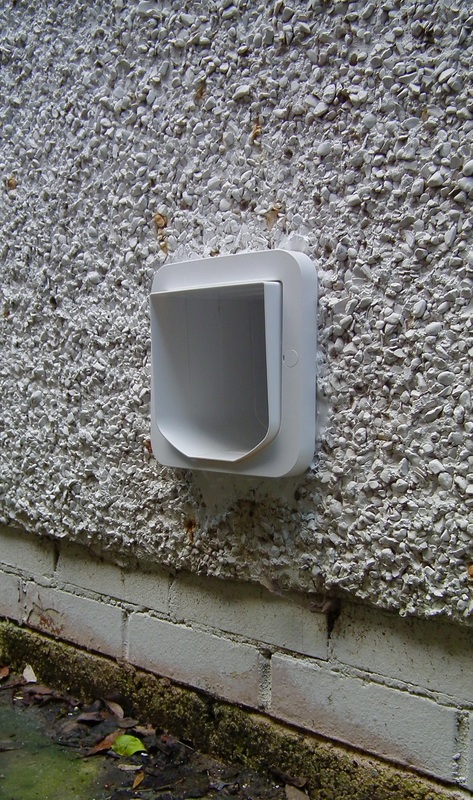
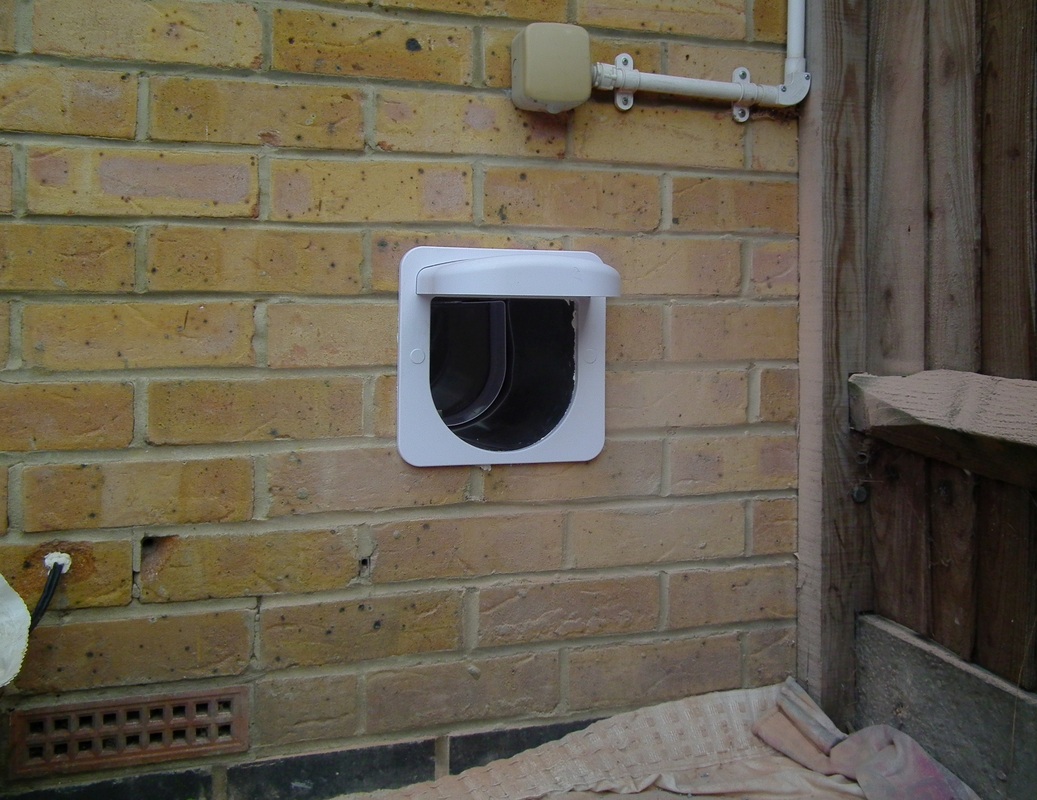
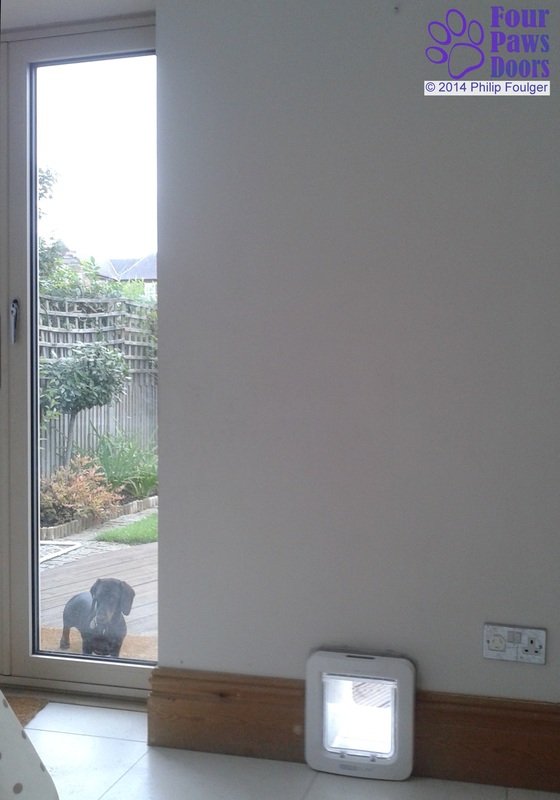
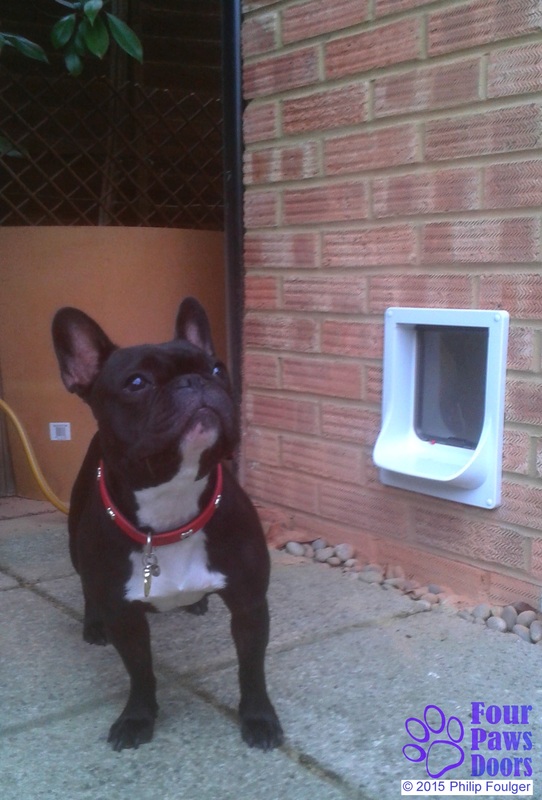
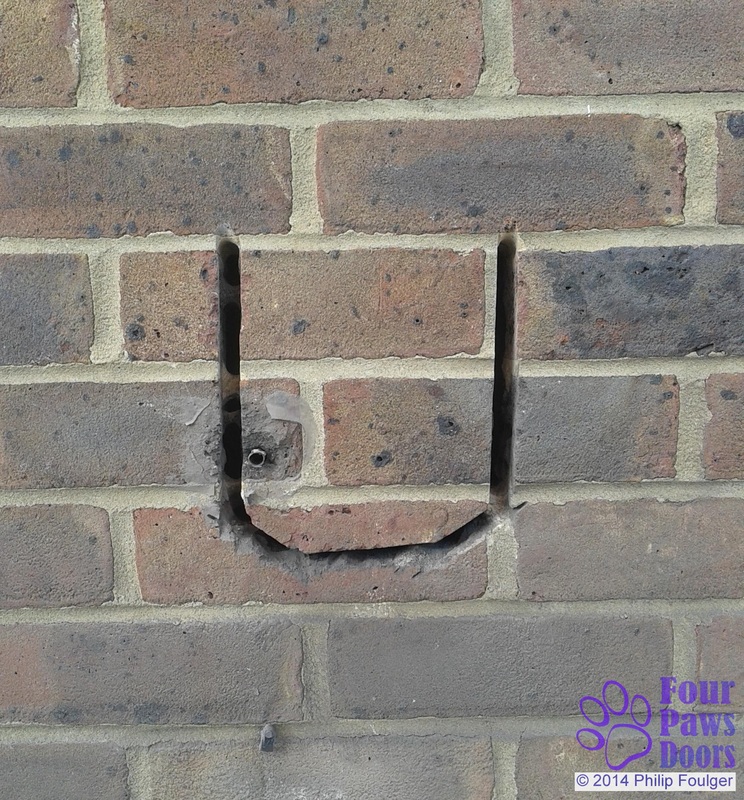
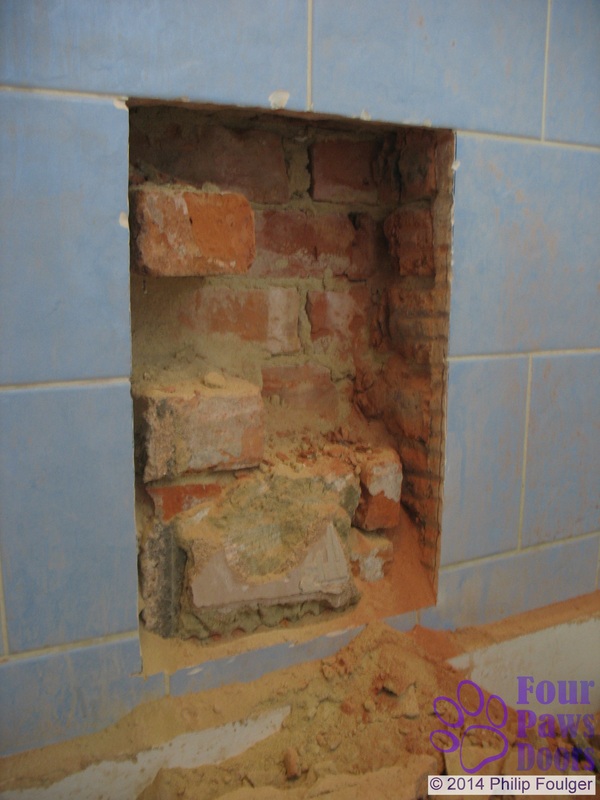
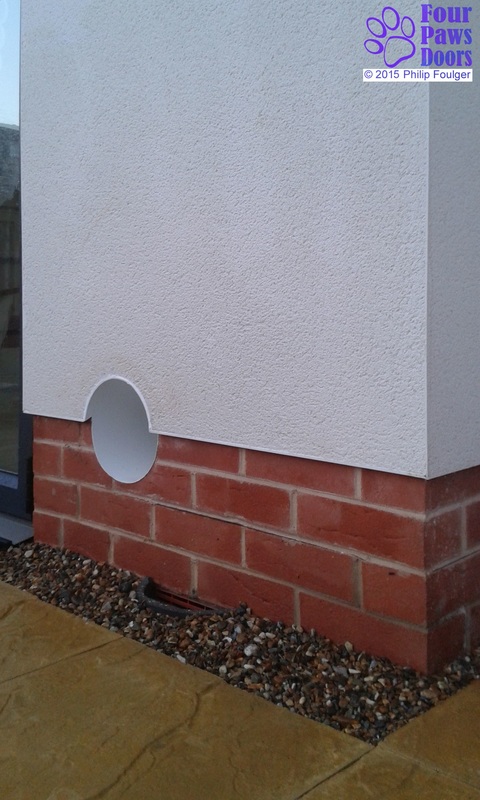
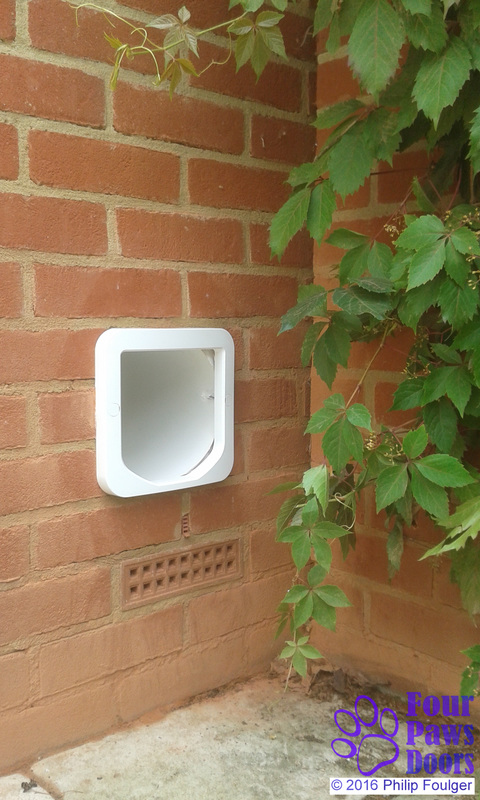
• Brick wall. A rectangular hole can be cut through a solid or cavity wall. With timber framed homes take care to locate the structural timbers before cutting into the wall - these must not be severed!
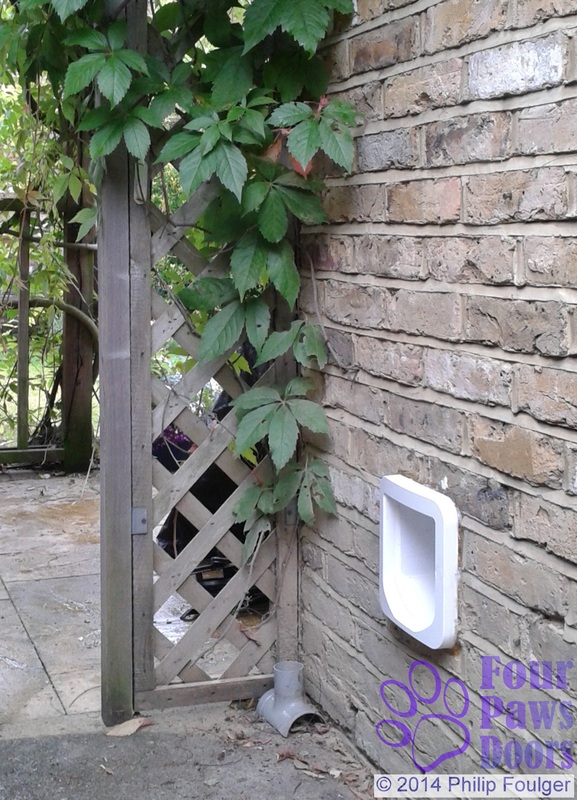
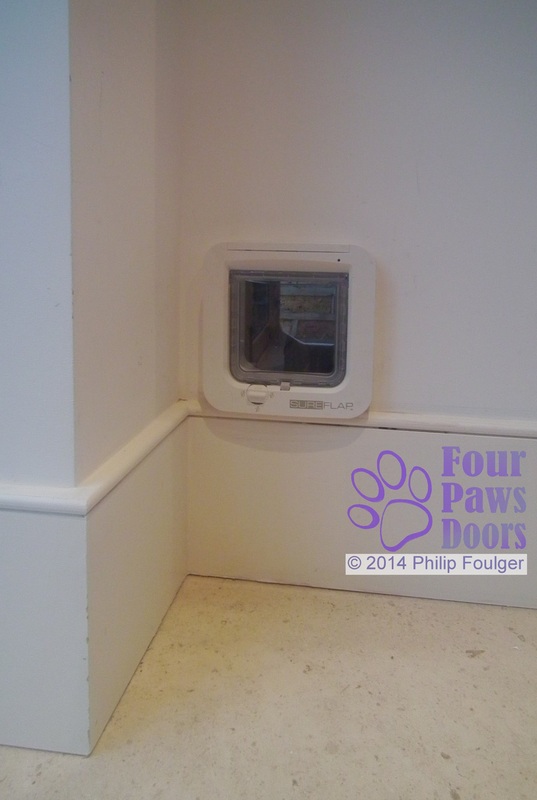
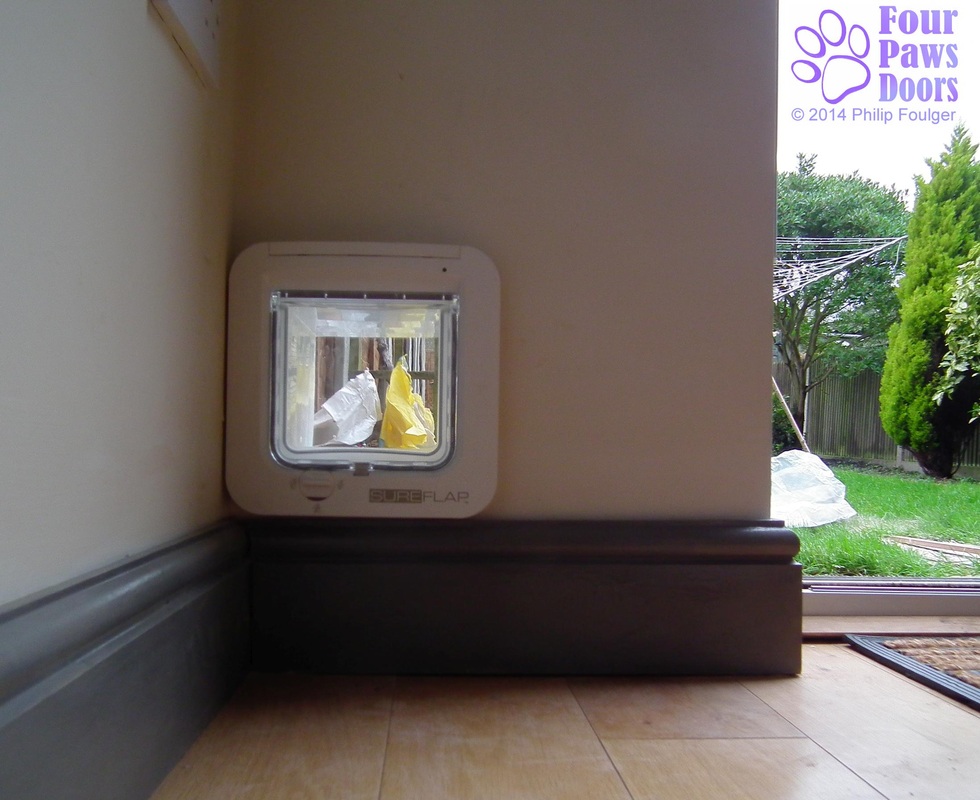
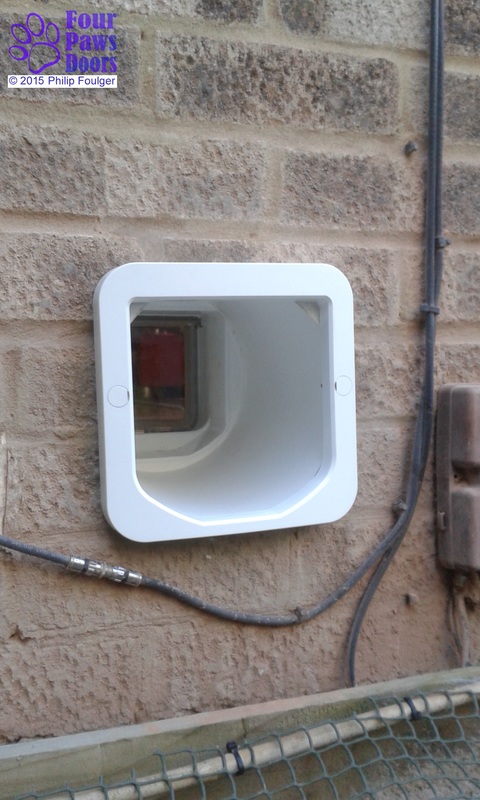
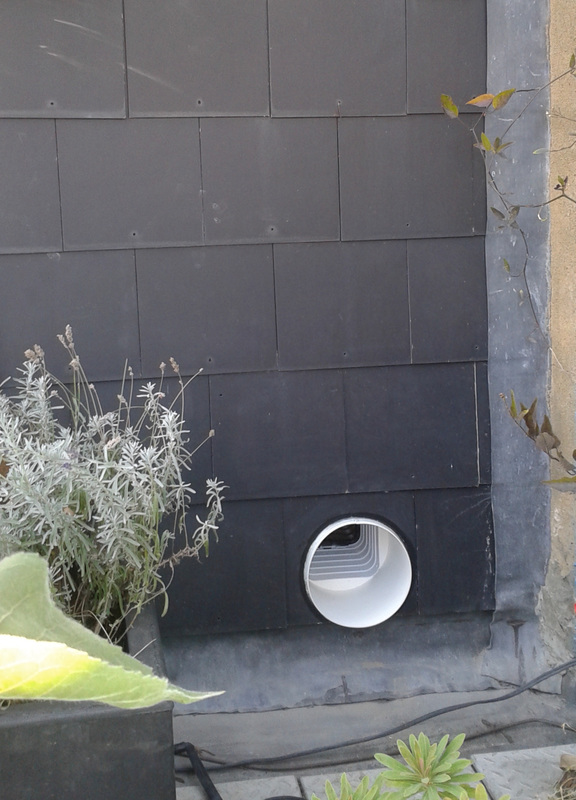
Check that there are no electric cables, gas, water or waste pipes where you are going to cut into the wall. A cable detector is helpful but has limited depth range. Avoid cutting a hole very close to a door or window as this could weaken the wall. A series of holes drilled through the wall with a masonry drill facilitates chopping out the hole using a cold chisel and club hammer. Be very very careful if using a mechanical breaker as you risk cracking the surrounding brickwork and mortar joints! For large dog doors I recommend providing some support to the brickwork above the hole. I use galvanised steel bars to span the opening. Take care not to bridge any damp proof course as this may introduce dampness into the wall. Cut the tunnel with a slight slope to the garden so that it can shed any rain that might be blown into it. The hole can be lined with a plastic tunnel - this will span the space in a cavity wall. The cat flap is almost always fixed to the interior face of the wall. On the outside face of the wall, fill the gap between the cat flap tunnel and the surrounding wall to prevent rain getting into the wall. To reduce draughts and heat loss consider fitting a second free-swinging cat flap to the exterior face of the wall. |


|
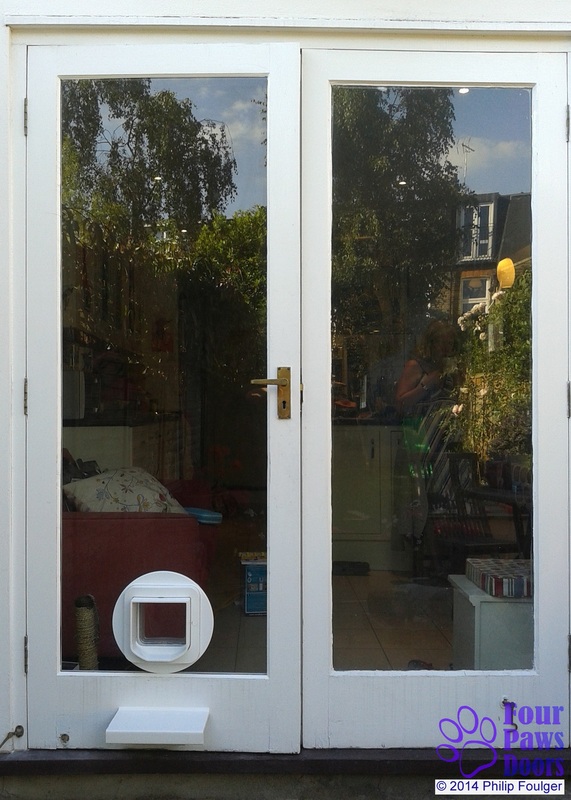
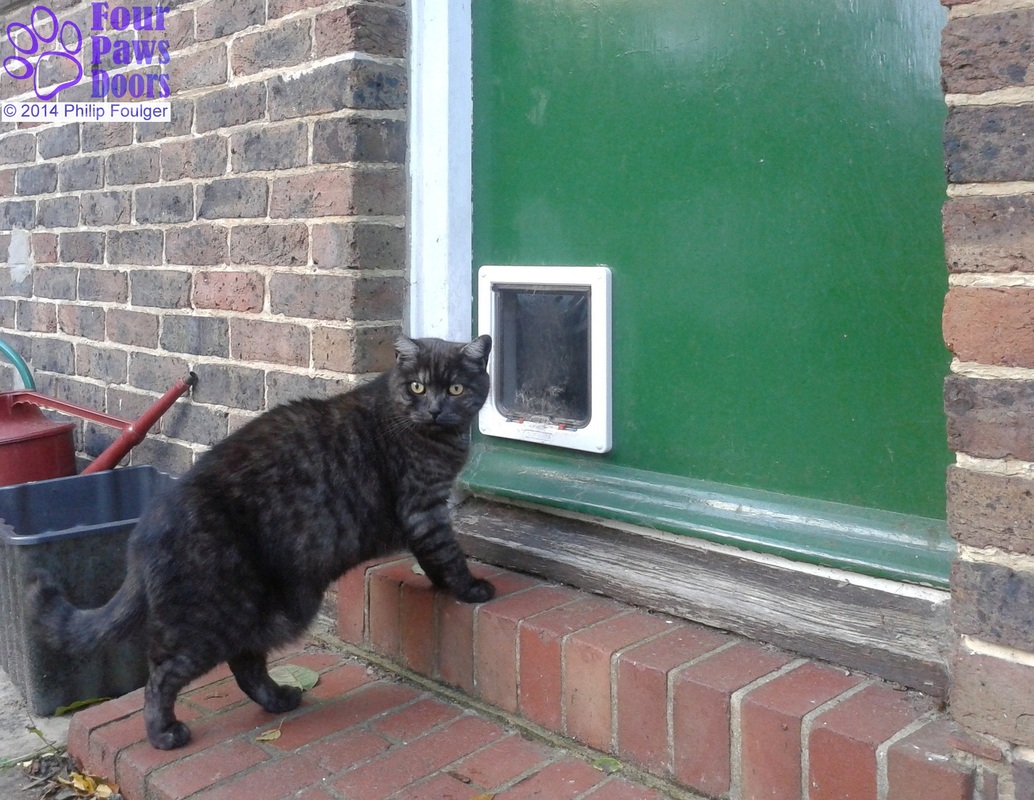
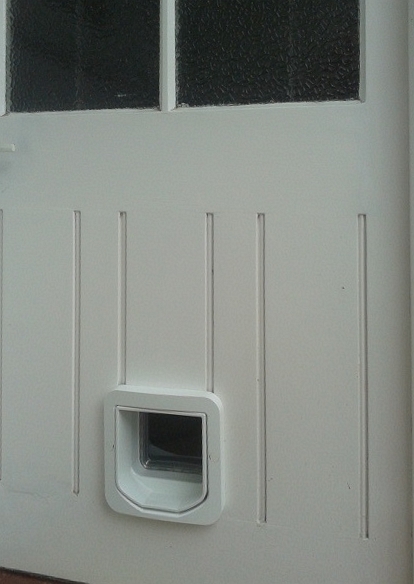
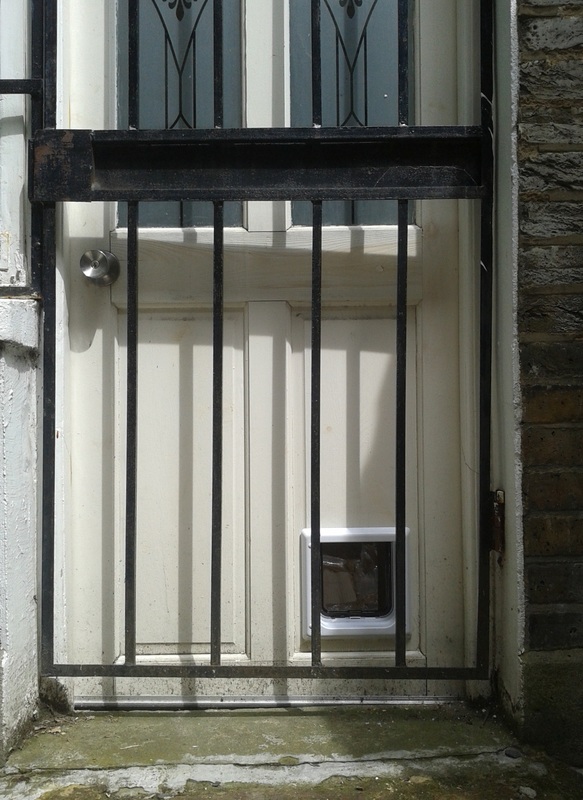
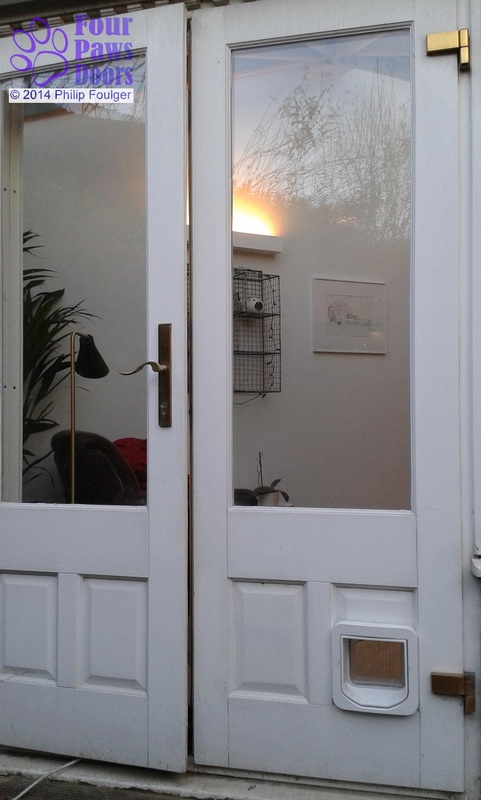
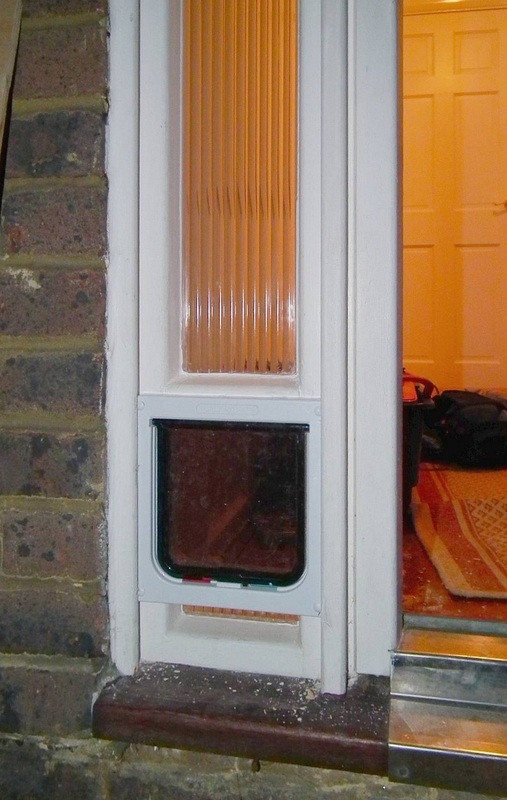
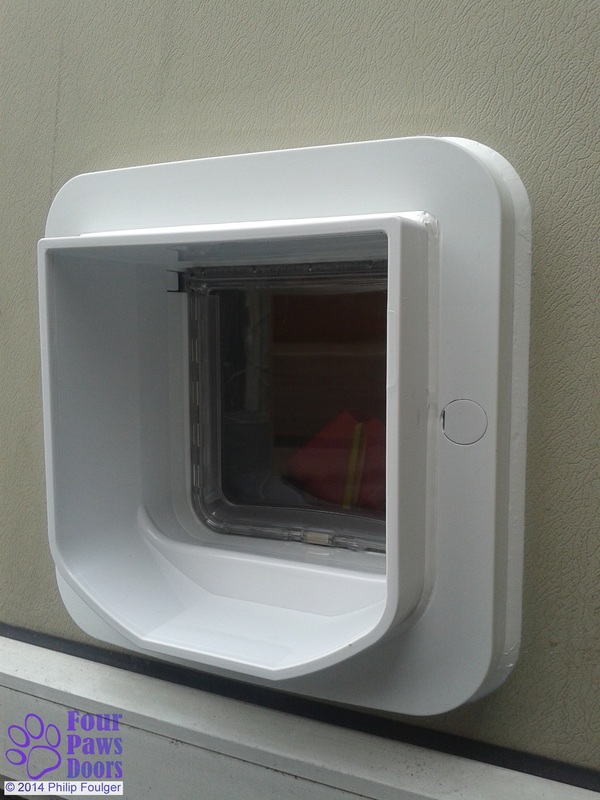
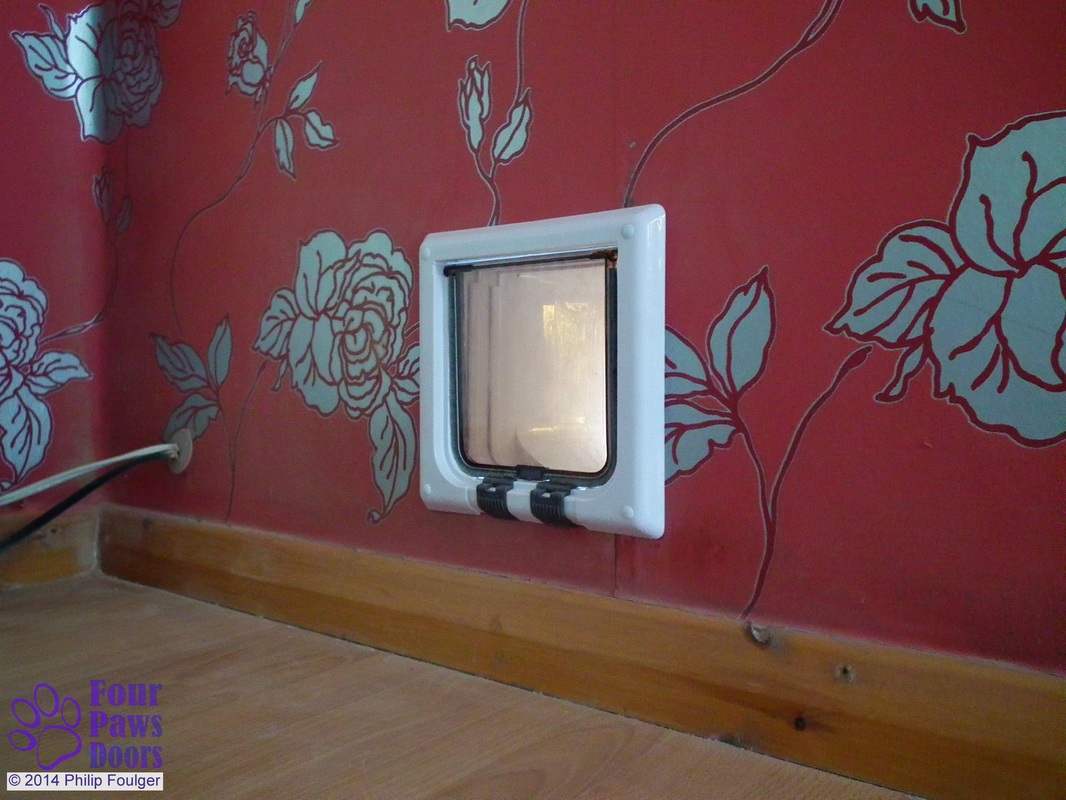
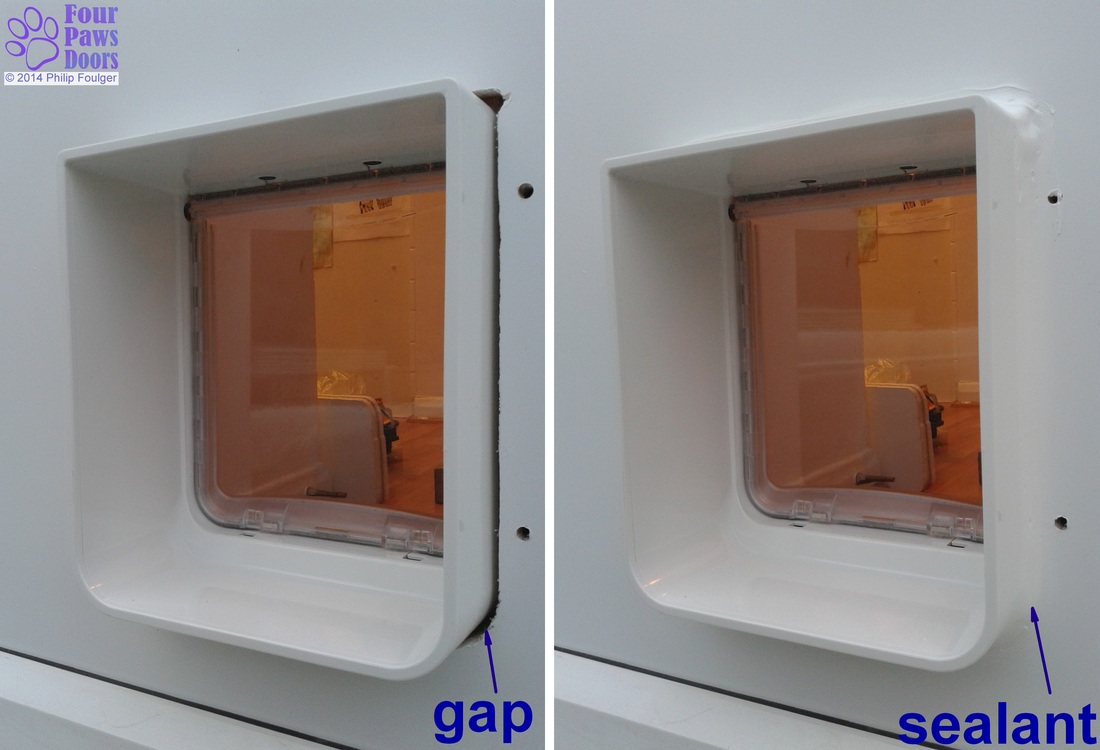
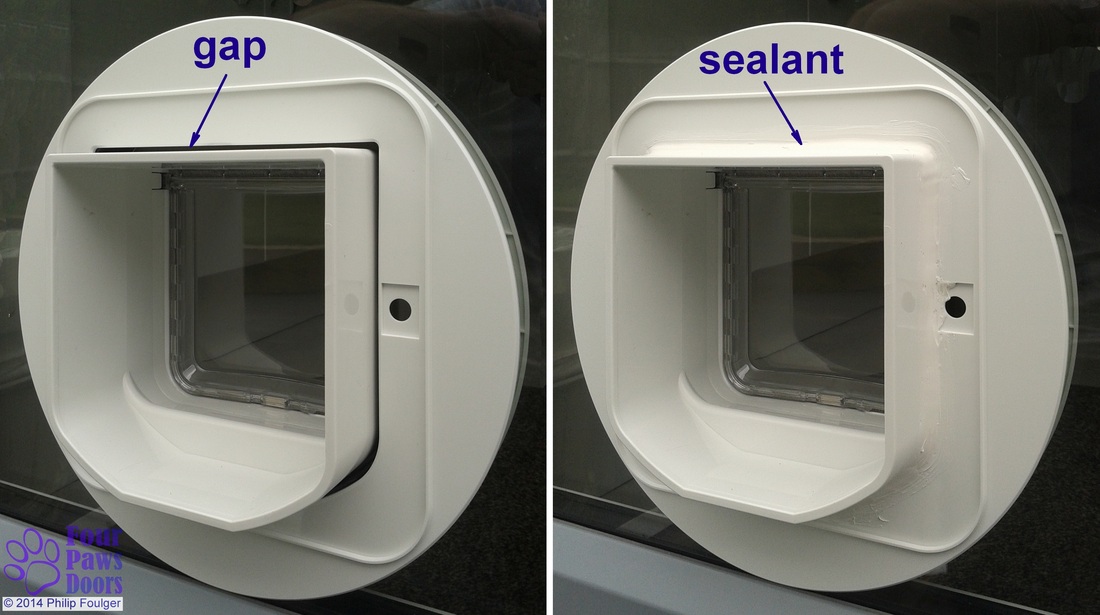
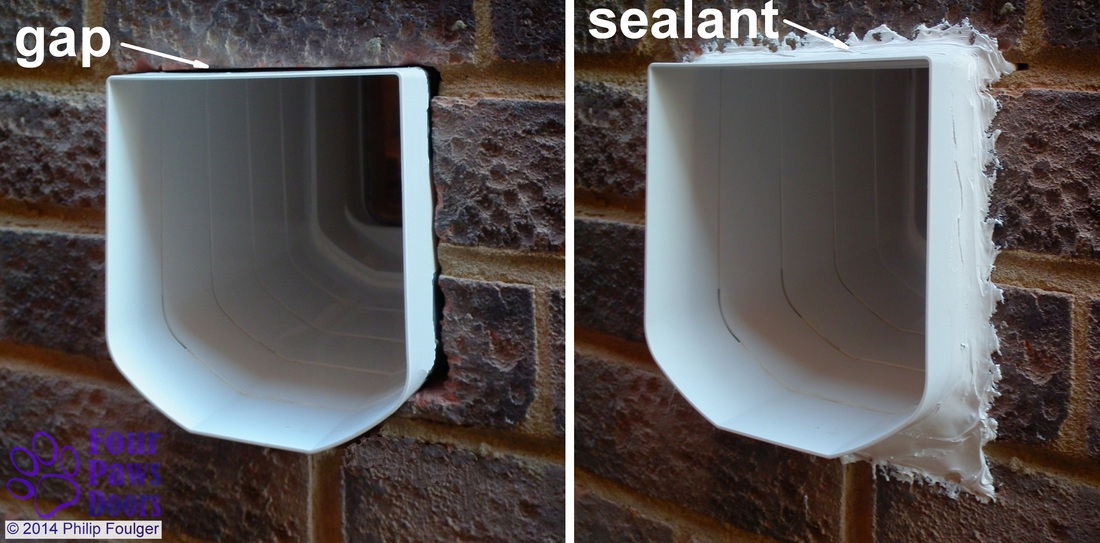
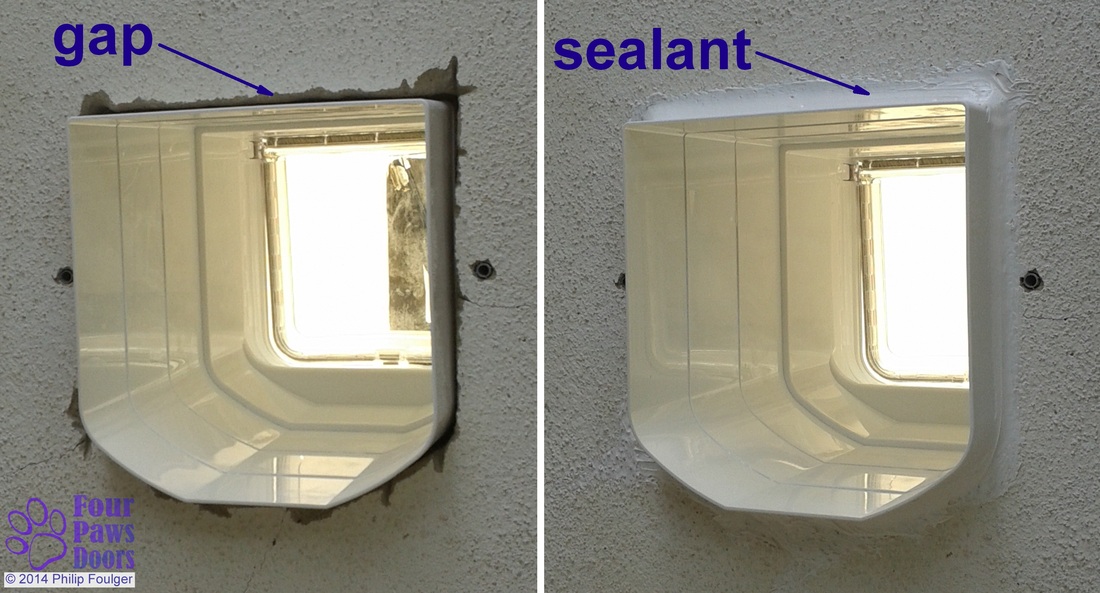
• Weatherproofing. Take care to seal between the cat flap or tunnel liner and the outside face of the wall, door or window in order to keep rainwater out - see the accompanying pictures. Use a suitable flexible sealant such as building silicone or frame sealant, although I prefer to use one of the superior MS polymer sealants.
|
|
|
|
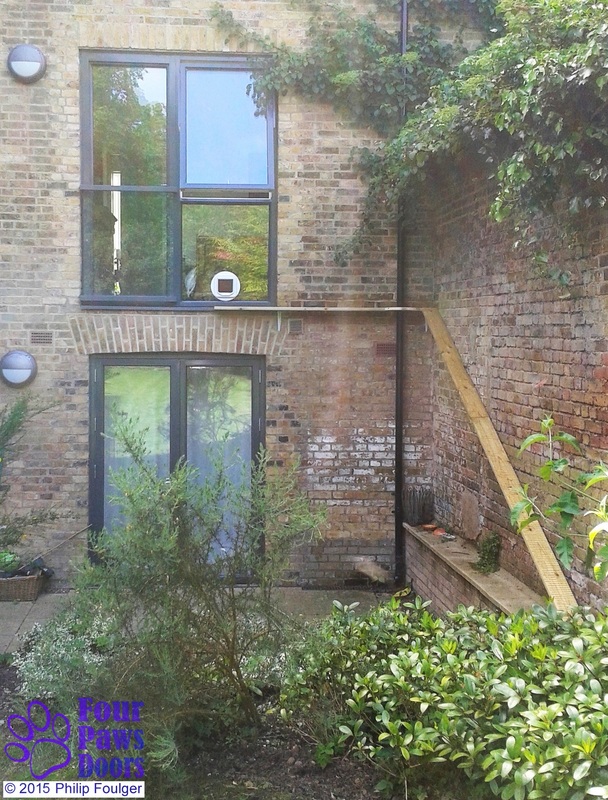
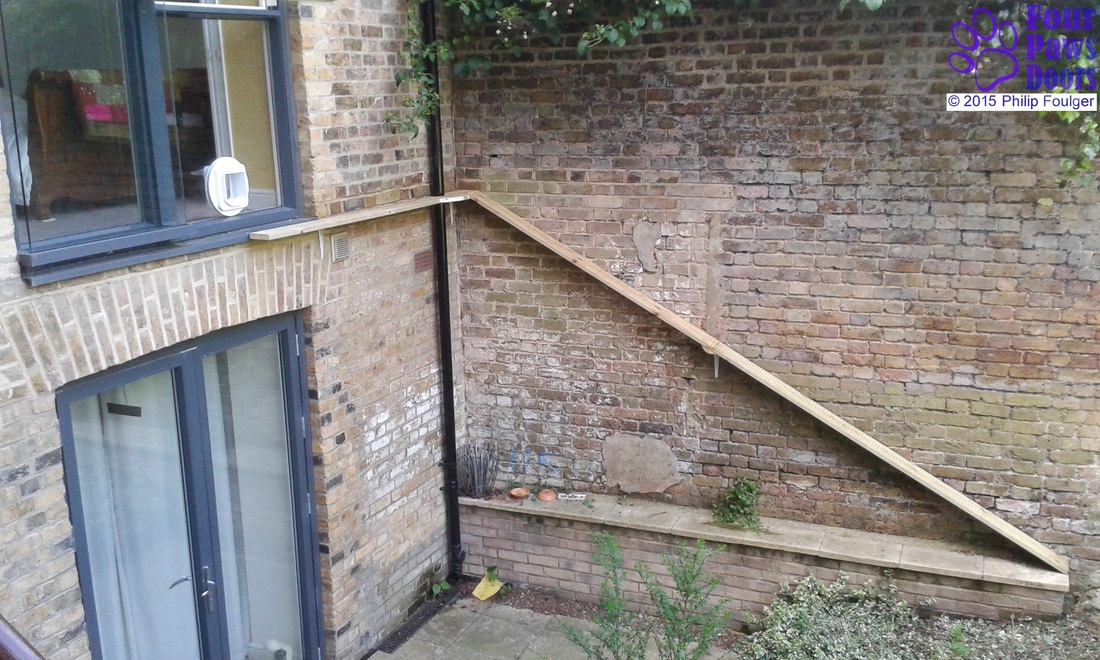
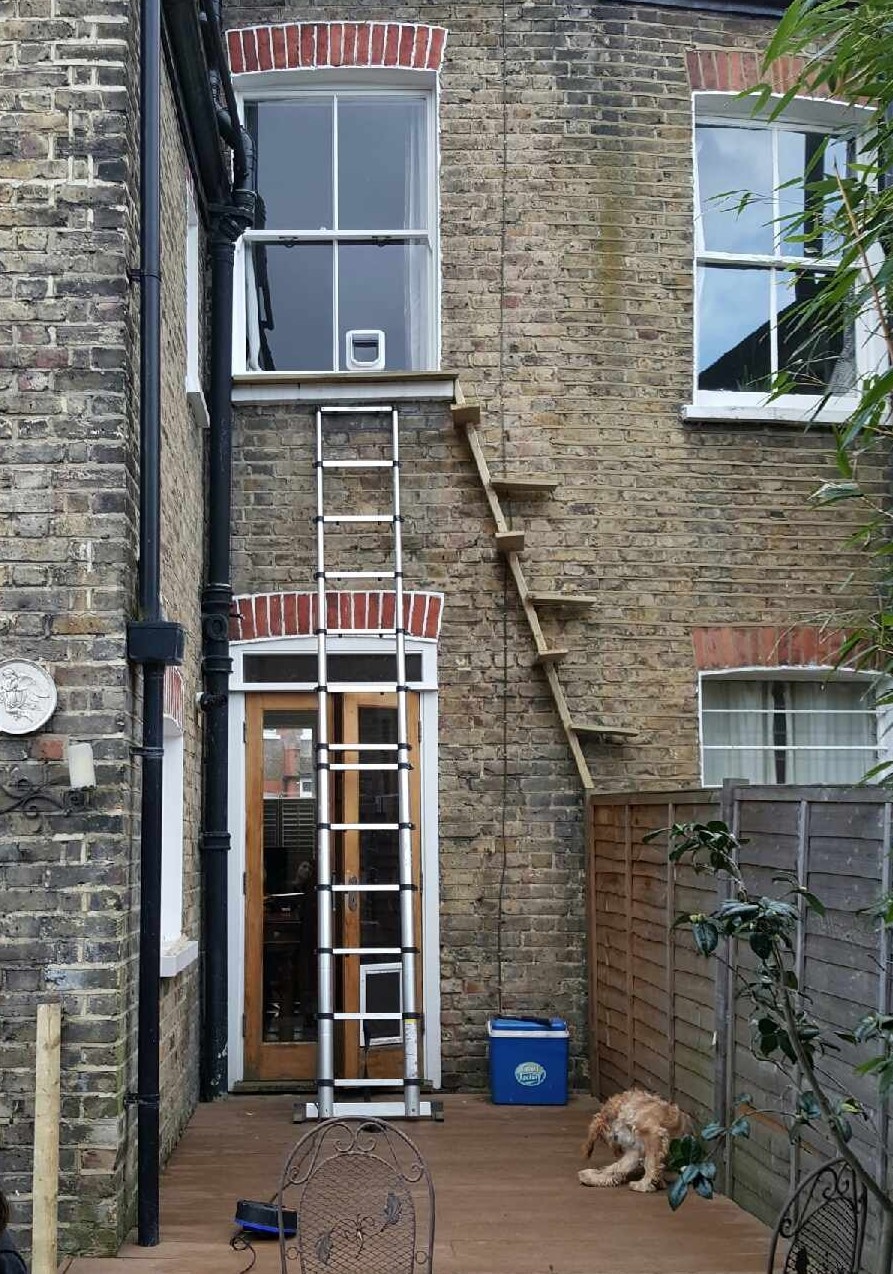
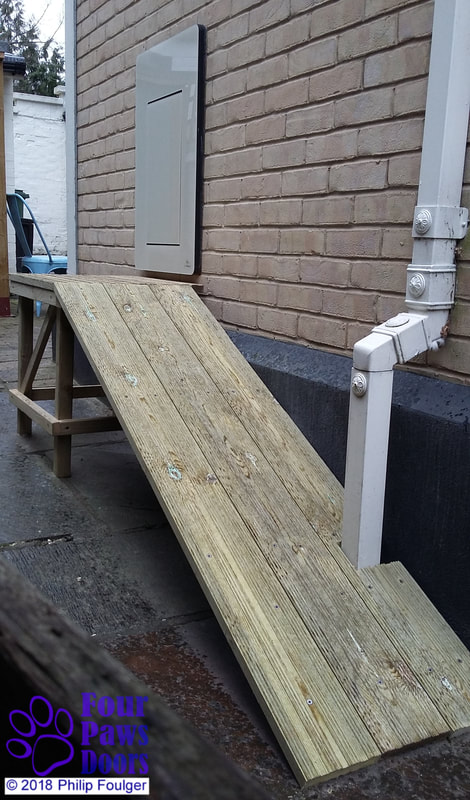
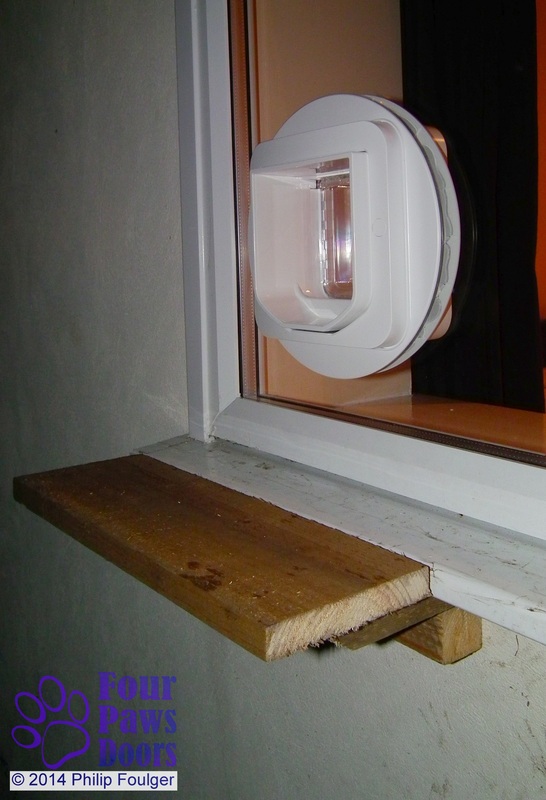
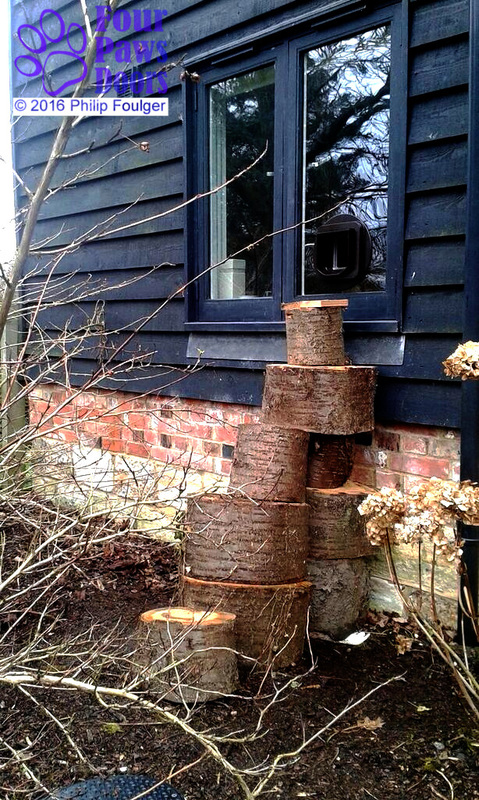
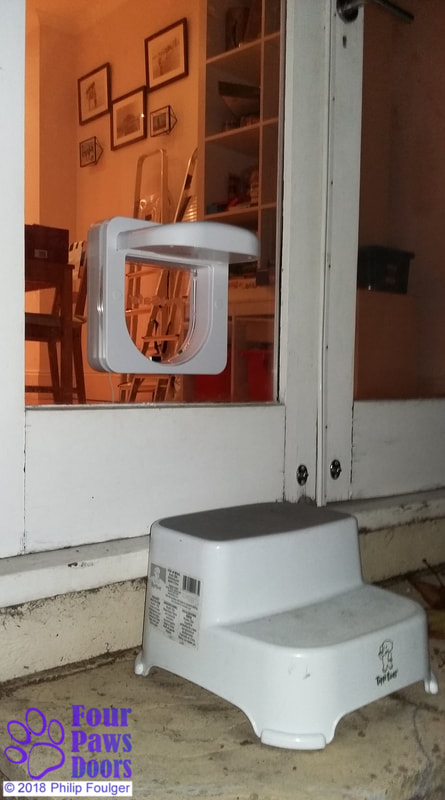
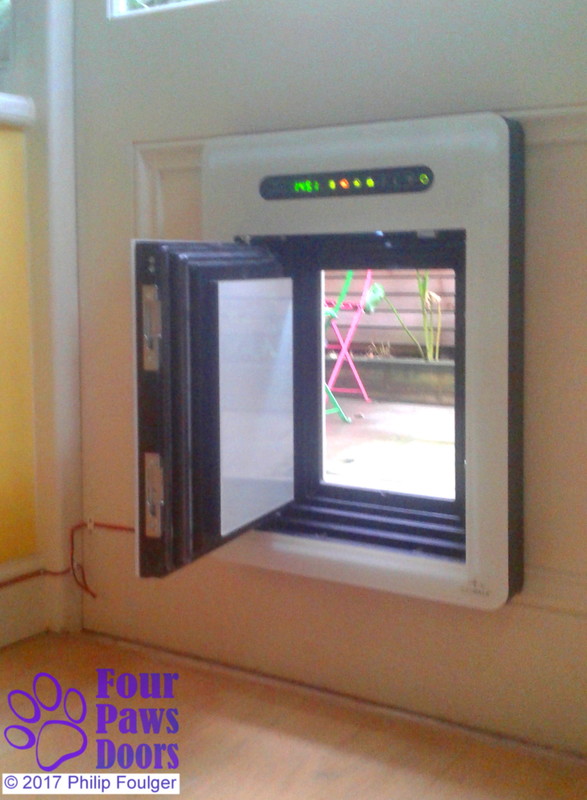
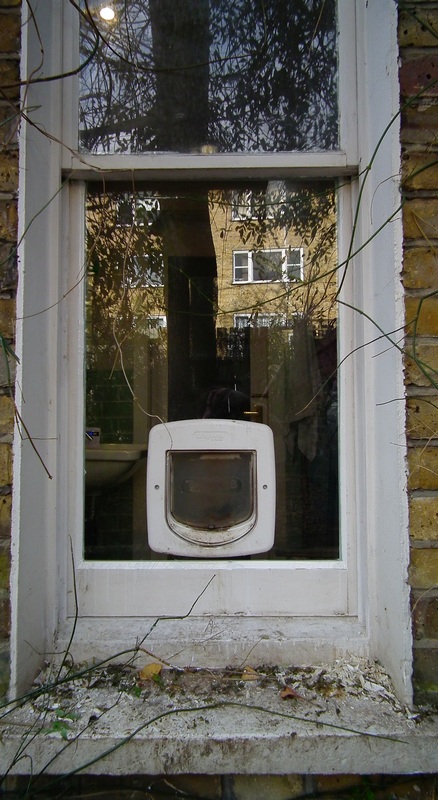
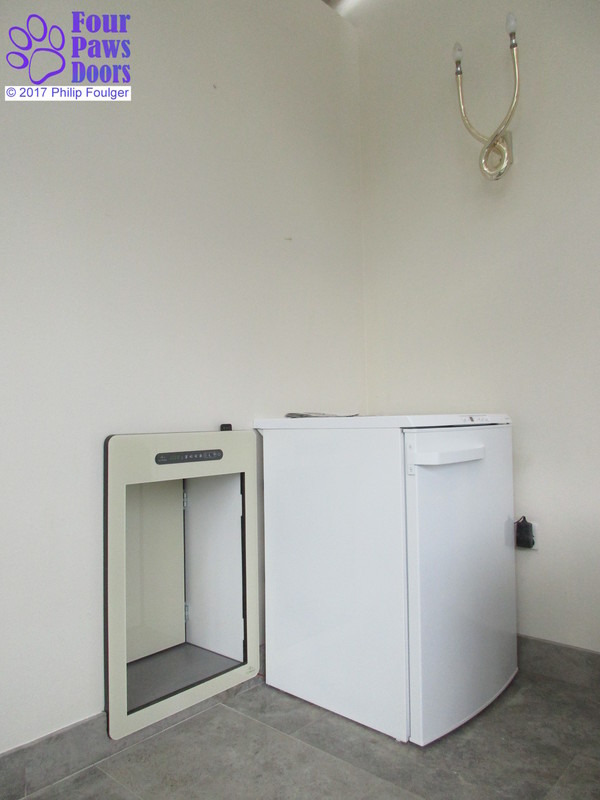
• Accessibility. Sometimes the only place a pet door can be fitted is a window too far above the ground for the cat or dog to reach easily. In such cases a step, stairs, ramp or even a ladder can be provided to help the animal access the pet door.
|